I’m working on some cute cupcakes this week for 4th of July and thought I’d share with you the cupcake picks I’ve made to go on top of them. I created an American Flag toothpick printable for you so you can make your own flag picks for your 4th of July cupcakes.
If you can find the round toothpicks that have one flat end with grooves, those are the best for this project. The toothpicks I used are Dynamic brand round toothpicks in natural color. If you can’t picture the type of tooth picks I’m talking about refer to the image below:
On the back of one of the flags, put a little glue in the center and stick the toothpick on it. If you want, you can leave a little of the stick hanging out of the top.
Then put glue on the back of one half of the flag and press it together around the toothpick.
As an artist and a baker, I like to explore the art form of cake decorating. It’s one of the reasons I’d rather decorate a cake than bake them, although recipe experimentation can be its own form of art as well. When I come across other bakers who express their artistic abilities through cake design, I take notice. The cake artist I’m spotlighting today has found a beautiful way to make sculptural pieces of art through the baking process.
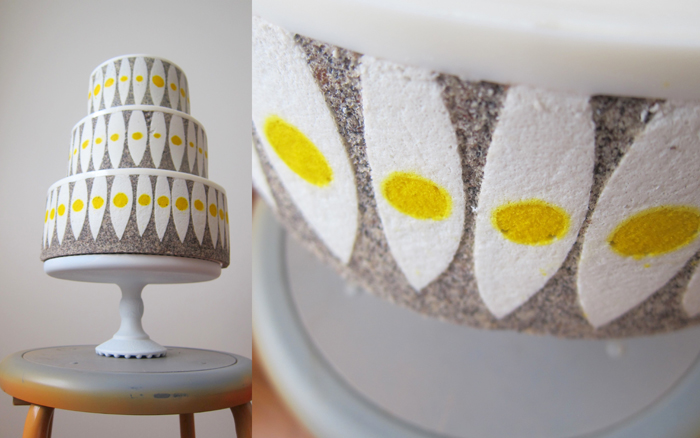
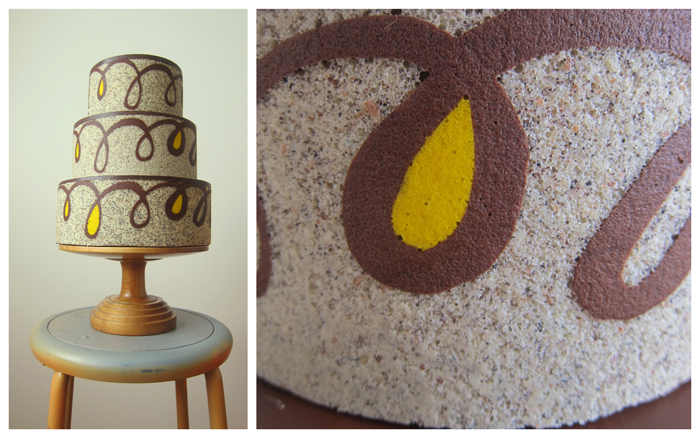
Meet Marcella Robin, owner, baker, and cake designer at MRobin Cakes in Portland, Oregon. She has created her own unique style of cake design using jaconde, a thin decorative exterior sponge cake, that she forms into classic patterns reminiscent of mid-century motifs. The insides of these entremet cakes are filled with sponge cake, creams, custards, fruits, mousses, etc. With her bachelors degree in sculpture and as a graduate of the Professional Pastry and Bread program at the Northwest Culinary Academy of Vancouver in British Columbia, Robin feels she’s found the perfect balance between her two loves: art and baking:
I have found cake design to be the perfect blend of my love for art and baking. While I prefer a traditional cake form, the process I use is creative and modern. After years of cake making and designing, my current focus is on entremet wedding cakes. These specialty cakes include layers of mousse, bavaroise, dacquoise, sponge cake, caramels, fruit and other fillings. With its bold design and enticing outer layer of decorative sponge cake, the entremet is unique and above all delicious.
I highly recommend watching Cineastas great video highlighting MRobin Cakes below. It gives Marcella Robin the opportunity to describe her style of cake design and shows us her amazing process for creating such beautifully elegant cakes.
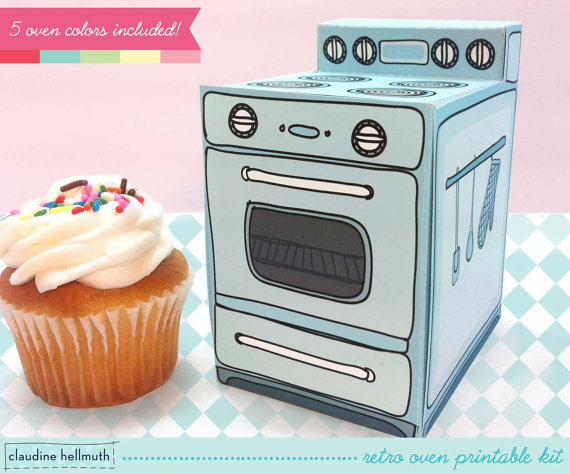
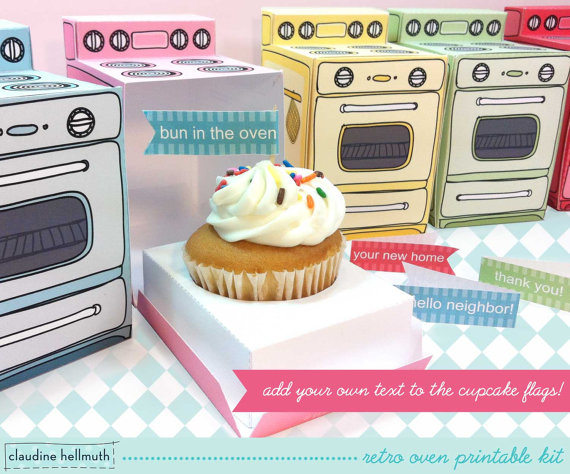
The amazing artist, Claudine Hellmuth, sent me an adorable Retro Oven Cupcake Box from her Etsy store to review for the blog. I was more than excited. I’ve been a fan of her shop for a while and had fun putting this little box together. It is available as a .pdf file and you can print as many of these cuties as you want! The file has all five colors (Red, Pink, Yellow, Aqua, and Green) in it as well as some cute oven mit tags, a cupcake tray, and some editable cupcake flags that can be attached to toothpicks.
Photo credit: Claudine Hellmuth
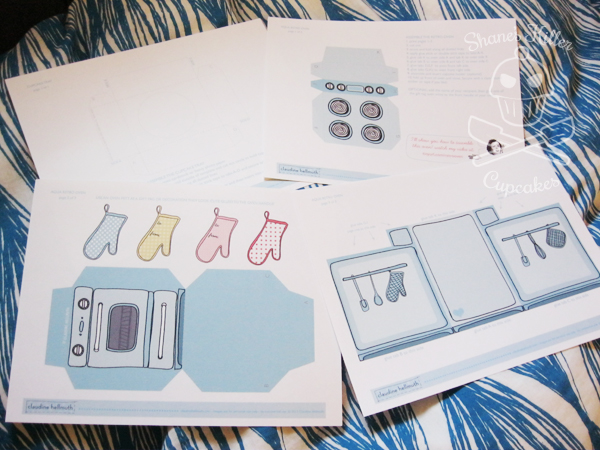
The first thing I did when I got the file was print out the blue oven. You need card stock, scissors, glue or a tape roller, and a scoring device to make these. You will also need an exacto knife to cut out the circle in the cupcake tray, and if you want, the window on the front of the oven.
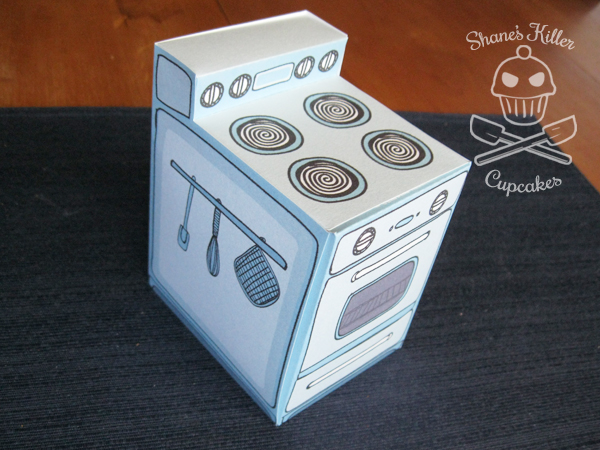
Although it was pretty easy to construct, there were a couple parts that got a little tricky. I’m sure if I made these regularly I’d get pretty quick, but for a first time, it took me about 20 minutes in all to get this put together. I’d suggest watching her instructional video in addition to reading the written directions, because she gives you a few tips that make it easier to build and some ideas to make it look cuter.
I think mine came out pretty good! I’d love to make the other colored ovens too. They’re just so cute.
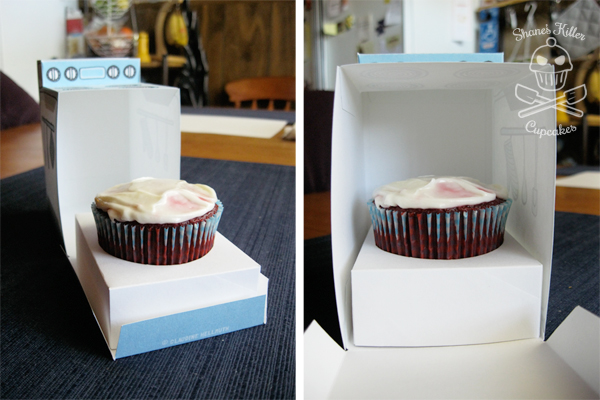
One thing I liked about these is that the ovens are a bit tall. There is enough room for cupcakes with toppers or tall frosting. The ovens would even be great for other small items like bags of candy, gift cards, small presents, etc.
Another great thing is the price. You get all 5 oven colors, 1 cupcake tray, 8 cupcake flags with editable text, and 4 oven mitt shaped gift tags for $4.99! And you can print as many ovens as you want! Claudine even sells a commercial license for a one time fee of $20 per favor box design if you want to sell your own baked goodies in them. That’s a great deal.
Make sure to check out her shop to see all of her other designs. Not only can you find several other adorable favor/treat box designs (like an ice cream truck), you’ll also find printable dolls, decorations, and digital scrapbooking sheets. Most of her designs range from $4.99-$5.99. So affordable and very high quality.
Claudine Hellmuth is an artist and illustrator. She loves creating “quirky, retro-whimsical” artwork to license to the gift, home and craft markets. She’s been featured in The New York Times, appeared on The Martha Stewart Show, HGTV and The DIY Network, and in 2012, launched an exclusive paper crafting line with the Home Shopping Network.
If you like her designs, make sure to follow her on Facebook, Twitter, and her blog. Also don’t forget to visit her website and sign up for her newsletter! The newsletter includes free printables and alerts you to new items in her Etsy shop.
The great folks at Gartner Studios sent me some Duff Goldman products this week to review. I was curious to try this brand after seeing some of his interesting products on the shelves at Michaels before. Have you ever watched Food Network’s Ace of Cakes? Duff Goldman is the baker and creator of that show! Duff Goldman by Gartner Studios is the bakeware and cake decorating product line that was created to bring his unique style of baking to your home.
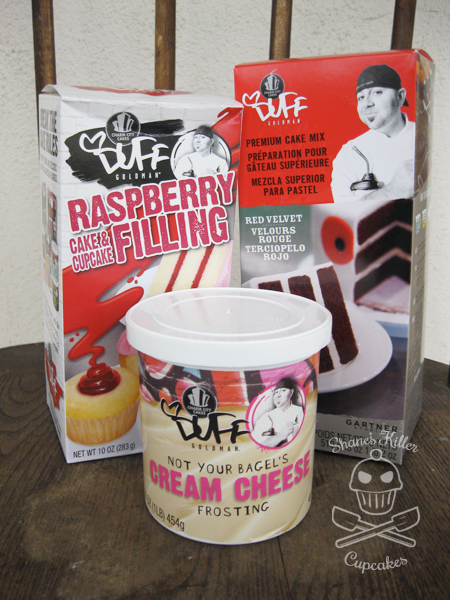
Receiving these products was exciting for me because they are flavors I don’t usually work with. Here’s a run down of the products:
Duff Goldman by Gartner Studios Red Velvet Cake Mix – Duff’s premium cake mixes use low protein and low gluten flour, which makes for a lighter, fluffier cake.
Duff Goldman by Gartner Studios Raspberry Cake and Cupcake Filling – Add a flavorful, tasty center to cakes and cupcakes with Duff’s zingy new Raspberry filling. It’s extra delicious when paired with Buttercream or Cream Cheese frosting. Which brings me to the last product for review:
Duff Goldman by Gartner Studios Cream Cheese Ready to Serve Frosting – Reach for the most delicious, easily spreadable frosting available, from theDuff Goldman by Gartner Studioscollection. Other delicious flavors include: Fudge, Chocolate, and White.
Over the years I’ve noticed a negative stigma attached to boxed cake mixes and pre-made baking products. I know that “from scratch” recipes usually turn out better quality products and allow for experimentation more easily, but boxed mixes have their place too! When my boyfriend and I were making these red velvet cupcakes this week, he commented how much easier and less of a hassle it was to use these Duff products than it was the last time he helped me make cupcakes from scratch. It really was a lot easier and created much less of a mess to clean up later too. That’s why I don’t look down on boxed mixes. They definitely have their place when you just want to make a quick batch of cupcakes without having to devote your whole afternoon to them.
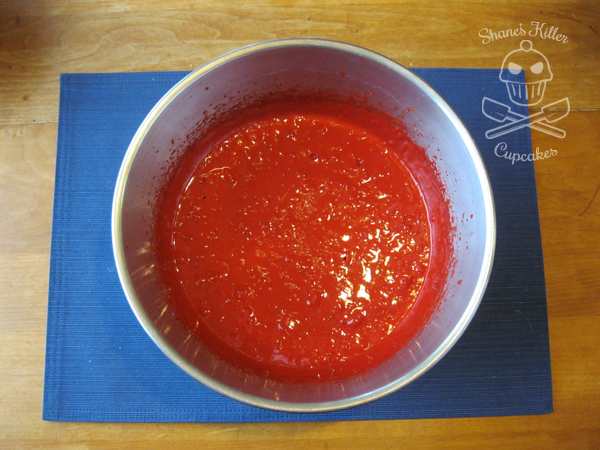
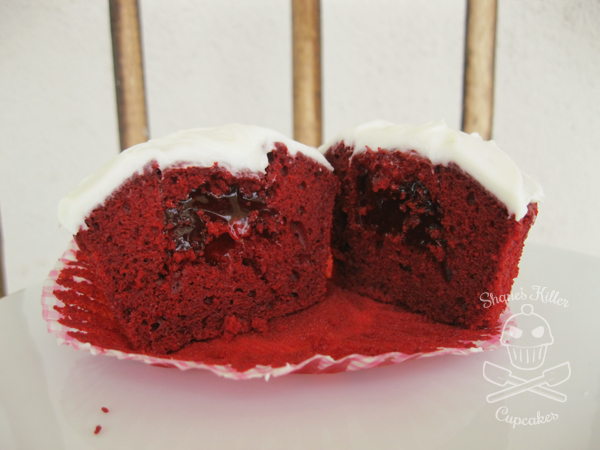
The Duff red velvet cake mix was simple to mix together. All you needed was some water, eggs, and oil. The batter itself was a little thinner than I expected, but didn’t effect the final product negatively. In fact they were very light and airy while still having a density that made them hold up well. The batter had a lot of red dye in it though. So much so that it stained my skin! But it washed off fairly easily. I’m not sure how easily it would have washed out of clothing though, so that’s something to keep in mind. Look how red it was!
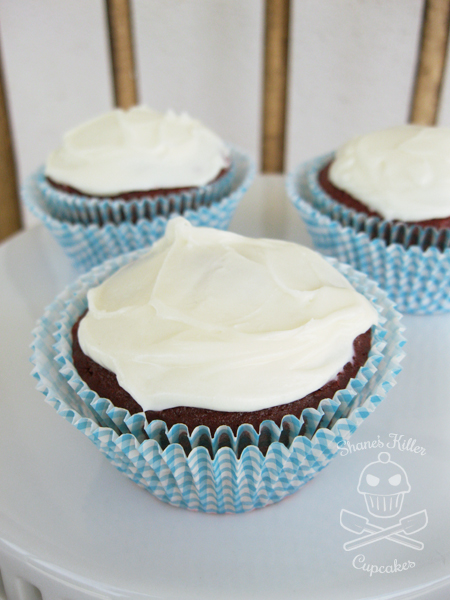
The ready-to-use raspberry filling came in a sealed plastic bag, so I just snipped off a corner and squeezed it into the centers of the cupcakes after coring them out with a large frosting tip. Then I took the center part out of the frosting tip, cut off the excess cake and placed the top part back on the cupcake once I filled it. The filling is sweet and slightly tart. If you like really tart raspberry flavor you might find this a bit sweet, but it isn’t overpoweringly sweet. And it paired well with the cream cheese frosting flavor.
The cream cheese frosting was one of the best canned cream cheese frostings I’ve ever tasted. It was also sweeter than most homemade cream cheese frostings I’ve made. Its main draw back was that it was rather thin so it isn’t very good for piping tall frosting. Whipping it and maybe adding a little powdered sugar to it might help thicken it a bit, but it’s best for frosting with a spatula in a thin layer on top of the cake. These cupcakes didn’t need a lot of frosting though, because there was already so much flavor in them. The the slight cream cheese flavor definitely went well with the red velvet and raspberry flavors of this cupcake.
Overall, I was very impressed with these products from Duff Goldman by Gartner Studios. I was worried they’d taste dull because they are a mass produced product, but surprisingly, they had a lot of flavor and nice consistency. I would definitely recommend these products to others, especially those who want quality cupcakes in a short amount of time.
BUY IT
You can find these products at several stores including Michaels, select Walmart and Target stores, or online at www.duff.com.
CONNECT
Stay up-to-date on all things Duff Goldman by Gartner Studios! Follow on Facebook and Twitter.
WIN IT!
One lucky reader will win their own package of Duff products! The package will have the same items I reviewed above including the Red Velvet Premium Cake Mix, Raspberry Cake and Cupcake Filling, and Cream Cheese Ready to Serve Frosting.
Open to U.S. residents of all ages only. Giveaway ends 6/30/13 at 11:59 pm EST.
****I received these products free of charge for an honest review of the products. I was not compensated monetarily for this review and all opinions are my own.****
Pin It
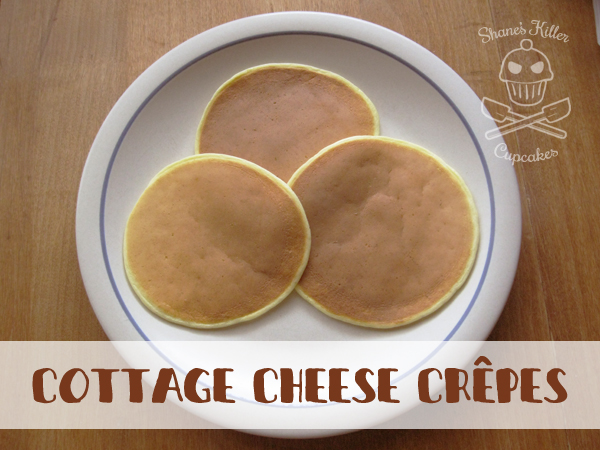
These little crepes are one of my favorite things to have for breakfast. My mom came up with the recipe trying to recreate something her dad used to eat when she was a kid. It only has three ingredients and is high in protein!
I like to jazz mine up with butter and a spread of my favorite Ikea lingonberry jam. Since the crepes are made with cottage cheese, many different toppings would taste good with these. You could try fruit, jams, syrup, cream cheese, etc.
In a blender, layer cottage cheese, flour, and eggs. It's good to sandwich the flour between the two wet ingredients so it doesn't clump or fly everywhere. Blend until smooth.
Pour batter onto a skillet or griddle that's preheated to medium-high heat. If not using non-stick cookware, use a little non-stick cooking spray before you put down the batter.
The cakes will cook quickly since they are thin. Once they are golden brown and not too wet inside, they are done.


 Download the free printable here.
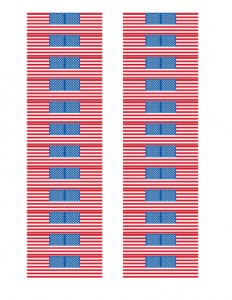


