

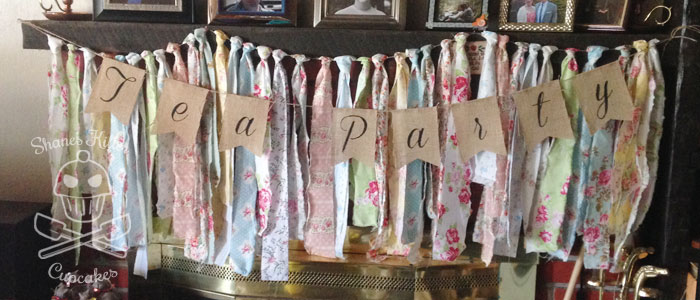
This month is my shabby chic themed tea party, and I have been handcrafting a number of my decor items to keep the cost down. The best things to keep in mind for the shabby chic look is that it should look worn but charming. Chipped paint, ratty, frayed edges, and pastel floral patterns are a good place to start. This installment will cover the different banners and garlands I’ve made for the party.
Fabric Strip Swag
This was fairly easy to make and quick too. I got some pretty floral cotton fabric prints and tore them into strips. I found some of the fabric at local thrift stores for cheap and then filled it out with 1/4 yard cuts of fabric from a fabric store. The great thing about cotton fabric is that if you cut a little snip in it, you can tear the rest, and it will tear straight. This is great for two reasons: it’s super easy and quick to get your strips, and it looks a little tattered and worn for the shabby chic look. These strips are about 2-3 inches wide and vary in lengths. I eyeballed everything so that it wouldn’t look too uniform. Tie or loop the strips to a piece of twine and you’re good to go! You can also add lace or burlap ribbon to it for a varied look.

Tea Party Banner
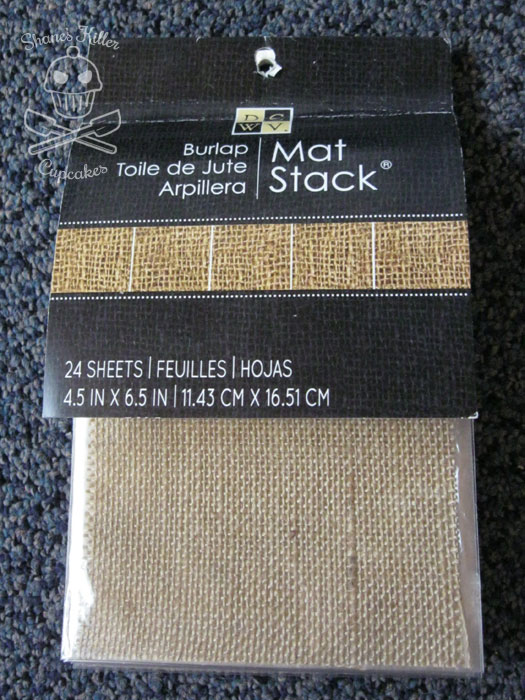
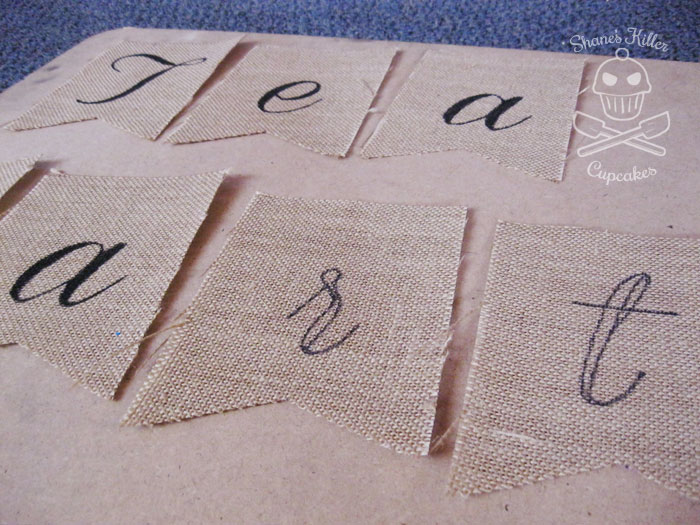
For this one, I used 4.5 inch x 6.5 inch sheets of burlap that I found in a pack at the local craft store. Any tight woven burlap will work for this, but these sheets were already the right size. You can cut them into any flag shape you want, I chose to cut them into swallowtail flag shapes.
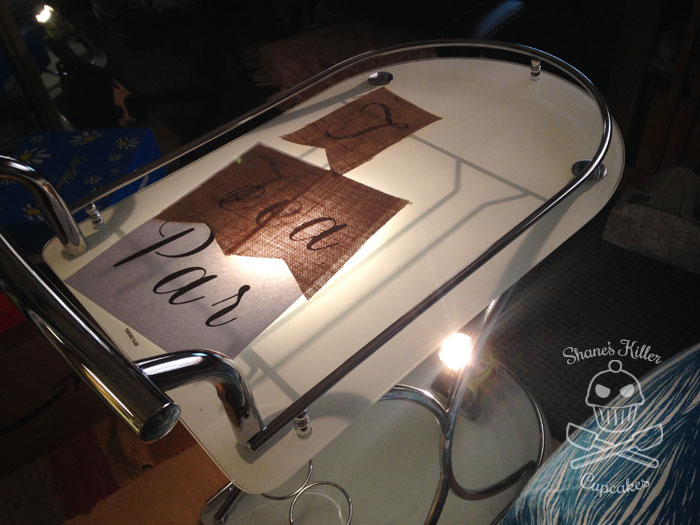
For the lettering, you can do it several different ways. If you have a shape cutting machine you could make a stencil and paint it on, or free hand it, or use a light box with the lettering printed out on some paper. I chose the last option because it looked the most professional without costing me tons of money for expensive tools and it was easy. Not having a light box, I had to get creative. I used my glass serving tray and a flashlight underneath to trace the letters onto the burlap. Any piece of glass would work for this. You could even use a window and tape the printed letters to it. You just need some back lighting.
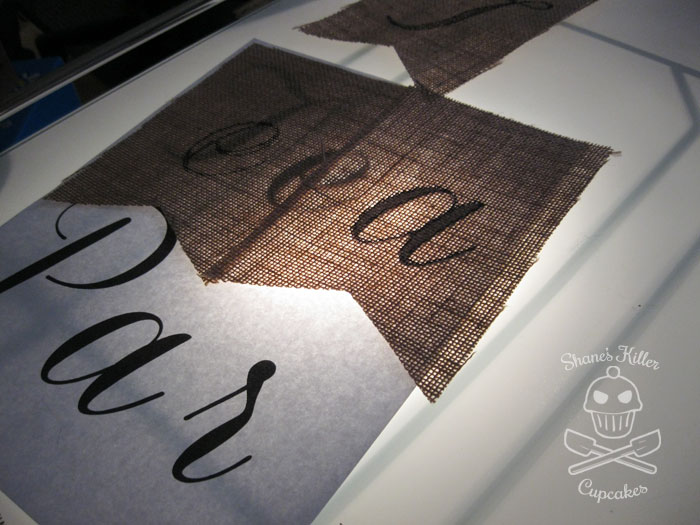
With a marker similar to the color you’re going to paint the letters, trace the outside of the letters. Next, fill in the letter with your paint.
 Attach the flags to some twine by folding the top over the string and hot gluing it together. Since burlap is loosely woven, be careful when hot gluing. It could get on your hands easily and burn. You could also use fabric glue but you’ll need to clamp it together while it dries.
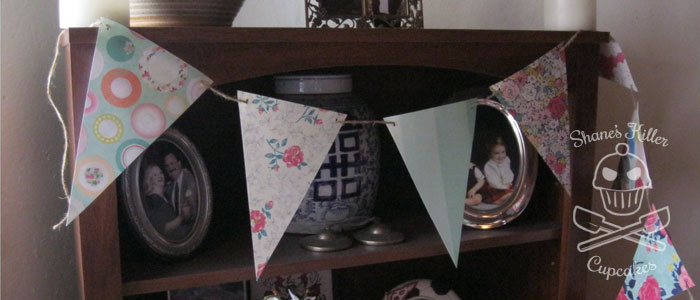
I chose to hang this banner in front of the fabric strip swag.
Pennant Flag Garland
This one is also easy. First, get a paper stack of floral prints and other paper you like from the scrapbook section of your craft store. I got an 8.5 inch x 11 inch stack and was able to get 3 pennants from each sheet of paper. Measure to the center of one of the 11 inch sides (5.5 inches) and measure 2.75 inches on either side of the other 11 inch side of the paper. Then connect the measure marks like in the diagram below and cut out your pennant shapes.
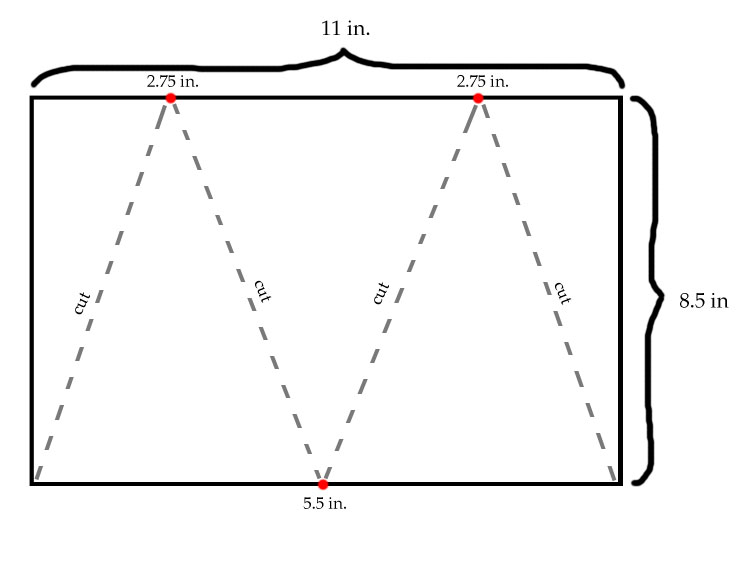
With a hole punch, cut a hole in each corner of the top of the pennant and string some twine through for hanging.

Doily Garland

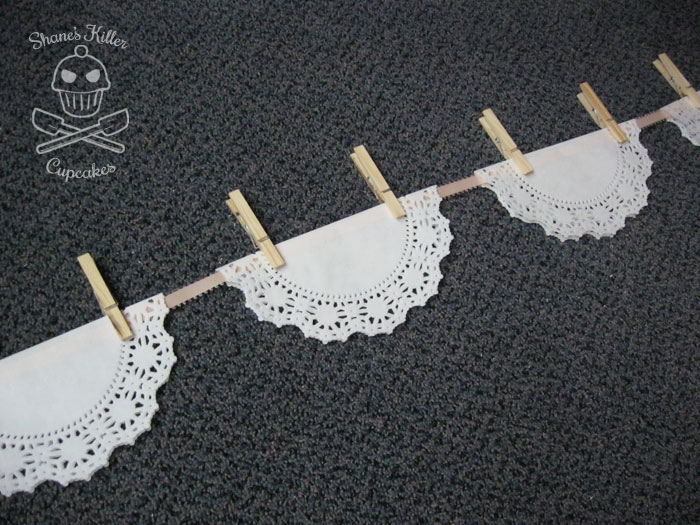
This garland is very pretty and takes minimal effort. All you need is a package of 8 inch paper doilies, some paper or fabric flowers, and a piece of ribbon.

Fold each doily in half, attach to a piece of ribbon and glue a flower to the center of each one. I found some paper flowers on Etsy for this garland.
I used clothespins to arrange the doilies on the ribbon and then one at a time took the pins off and hot glued the doilies down. After that, I glued the flowers down to the front. Easy peasy.

In Part 2 of D.I.Y Shabby Chic Decor, I’ll be showing you how to make some inexpensive but pretty decor from tissue paper and a few painting projects that add the finishing touches to a shabby chic party.


Pingback: D.I.Y. Shabby Chic Party Decor {Part 2} | Shane's Killer Cupcakes
Pingback: Shabby Chic Tea Party | Shane's Killer Cupcakes
Love these!! They’re super cute and cheap; right up my alley. Thank you for sharing!