
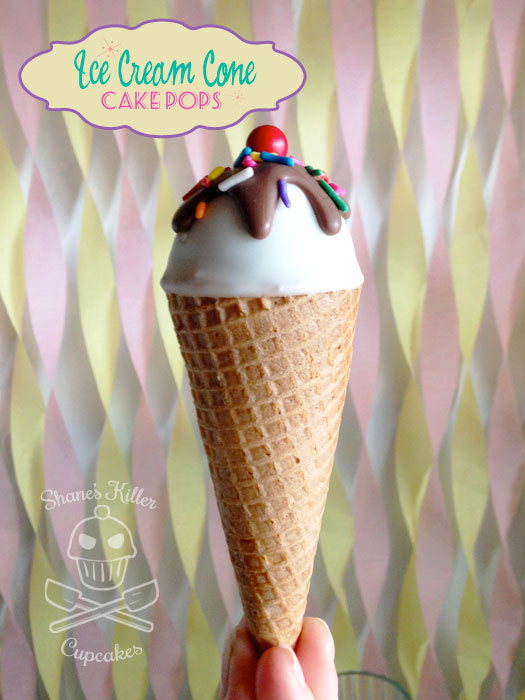
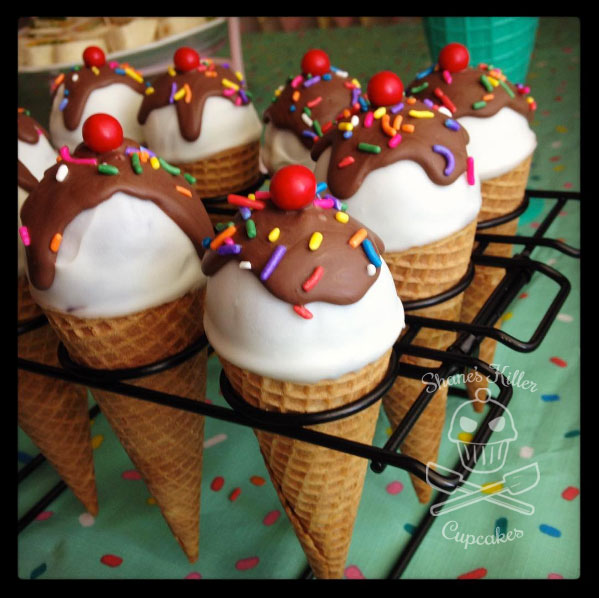
The summer is here and it’s a perfect time to have an ice cream social! I don’t see my friends and family very often, so periodically I have fun theme parties to get us all together and catch up. Ice cream is fun on its own, but it’s so much better when you have it to cool off during the hot summer. 
I wanted to have a place where my friends and their kids could have some fun, some ice cream, and cool off. It’s been a little over a year since my epic Circus/Carnival party, and I was itching to do another theme party. With the weather heating up where I live, ice cream seemed like a good theme choice this year.
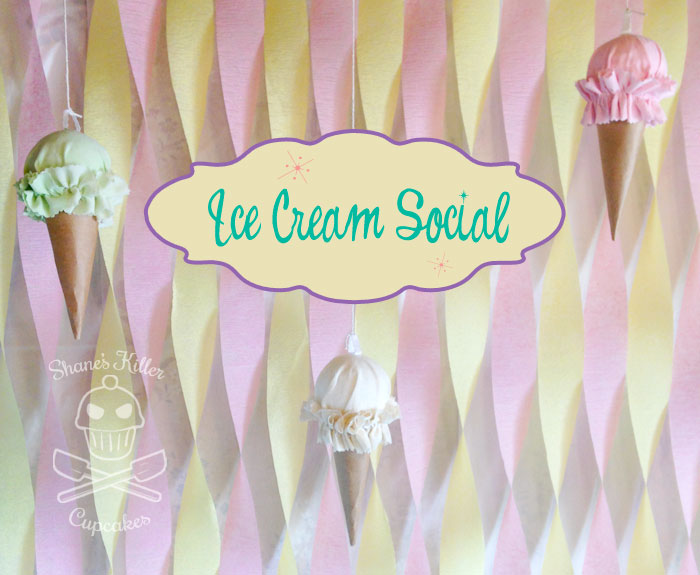
The Decor

Of course theme parties are no good without decorations. I found a few decorating ideas from browsing the internet this time. I made some of these cute fabric and paper ice cream cones using Icing Designs’ tutorial. They are fully customizable for whichever “flavors” of ice cream you want to make and fairly easy to do if you have basic sewing skills. Outside of ruffling the fabric, most of it was glued together. Pro tip: if fabric is too expensive for you to afford, find some sheets at your local thrift store. I was able to find some sheets in mint green and light pink at a fraction of the cost for these fabric ice cream cones and got some inexpensive muslin for the vanilla ones.


