Duff Goldman Holly Jolly Cake with Holiday Frosting {Review and Giveaway}

Posted on

IMG_3924

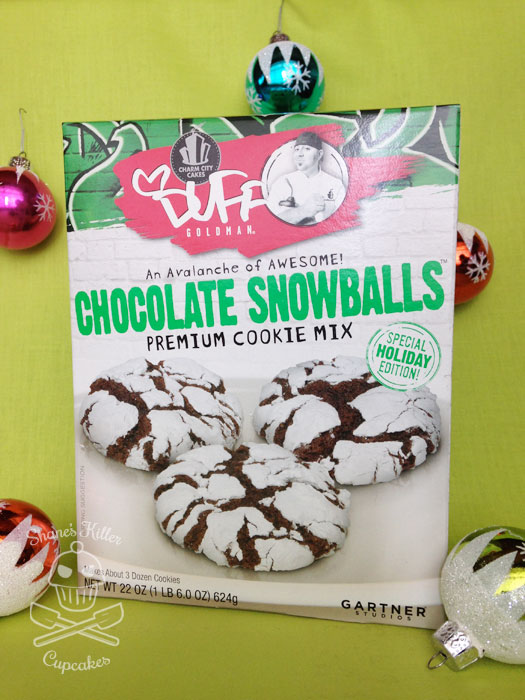
I hope by now you’ve read and entered my other Duff Goldman review and giveaway for a box of Chocolate Snowball cookie mix (it ends today!), but I have another treat for you provided by Duff Goldman by Gartner Studios. I have the opportunity to review another product from the Duff Goldman holiday line and give away a package of the same products I’m reviewing!

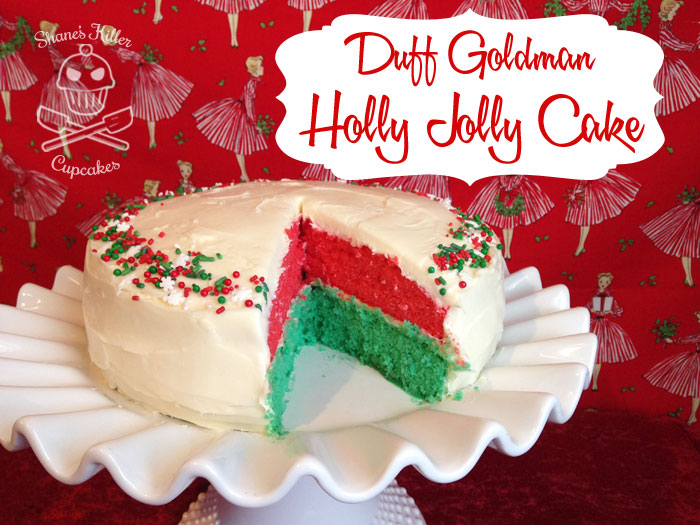
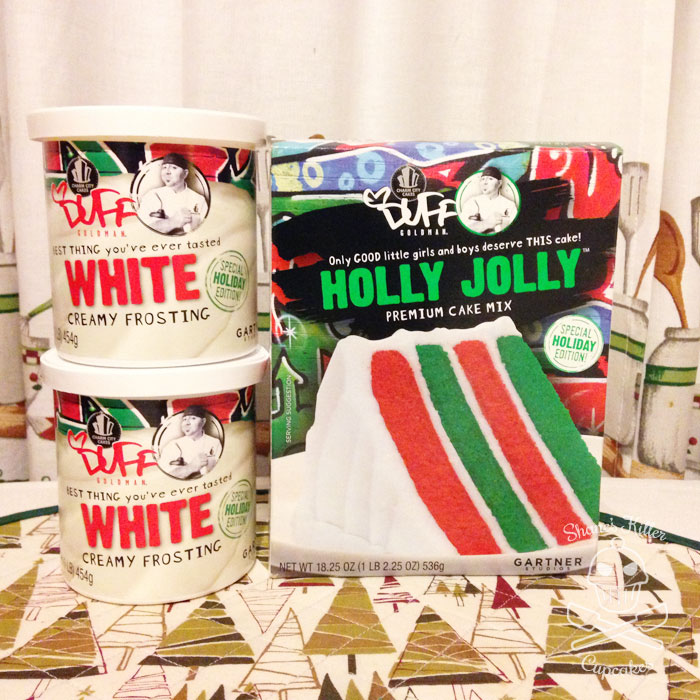
Today’s product is the Duff Goldman by Gartner Studios Holly Jolly Cake Mix and Holiday Frosting. The first thing that caught my eye about this product was how vibrant the colors of the cake were. It’s very festive. I also liked that the frosting looked really white. I hoped that the product lived up to these expectations.

IMG_3897_lg

The products are described by the company as “layers of holiday colors to dazzle the eye, and moist, delicious flavors to tempt the taste buds” with a “decadent” frosting. I hoped this description wouldn’t be setting me up for disappointment.

The first thing that was a plus is that the food coloring gels that come with the cake mix do actually get the batter pretty close to the red and green in the picture! So even if this cake wasn’t any good, I had a feeling it would still look pretty cool.

IMG_3894

I was a little bummed that I wouldn’t be able to do the 4 layer cake, because I didn’t have the right sized pans. The box suggests two 8in round cake pans so that each cake can be cut in half for the layers, and 9in pans (which is what I had) were not recommended. I could have said “screw you, cake box instructions, I’ll do what I want,” but since this was a review, I wanted to follow the directions correctly at least this first time. In the end, I opted for a two layer cake.

The batter tasted pretty great but was a tad sweet. The frosting was also very sweet.  I was afraid it might be too sweet when put together. Another drawback of the frosting was that it wasn’t as white as the frosting on the box of cake mix. It was closer to the cream color on the frosting label. It tasted a bit like a mix of regular vanilla frosting and cream cheese frosting.

IMG_3908

I cooked the cake according to the directions and ended up pulling it out of the oven a couple of minutes early because a toothpick already came out of the center clean. This was probably one of the moistest cakes I’ve ever baked. Even after cooling for a long time, the cake stayed sticky. Because of this stickiness, when you frost the cake, you’ll have to do a crumb coat. To do this, spread a thin layer of frosting all over the cake to glue all the crumbs together that mix into it after you’ve put in the frosting filling between the layers.  To set this quickly, I stuck the cake in the fridge for a few minutes so that the frosting wouldn’t be tacky to the touch. Then I frosted as usual, no crumbs this time! I found a great tutorial for crumb coating on Martha Stewart if you need a visual.

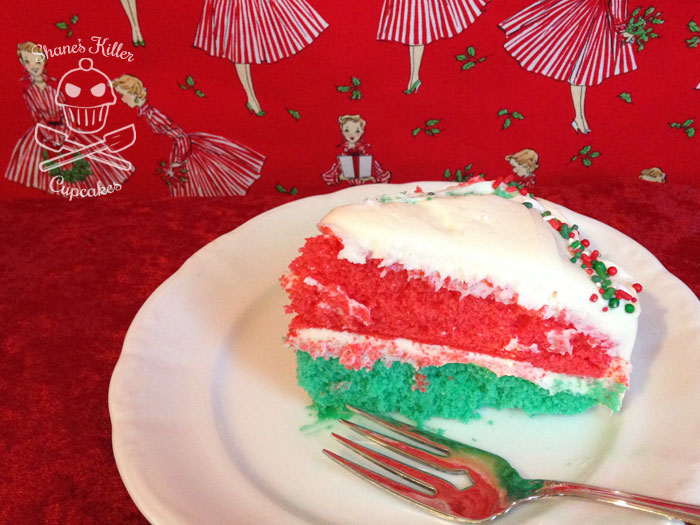
While putting cake in the fridge can dry it out, this cake needs a bit of chilling to firm it up for cutting slices. The cake was room temperature when I took the first slice out and it nearly crumbled all over the place, plus the slice fell over when I was trying to serve it on a plate for the photo shoot! It was not very easy to handle when it was warm and it was messy. There were cake crumbs all over.

IMG_3914

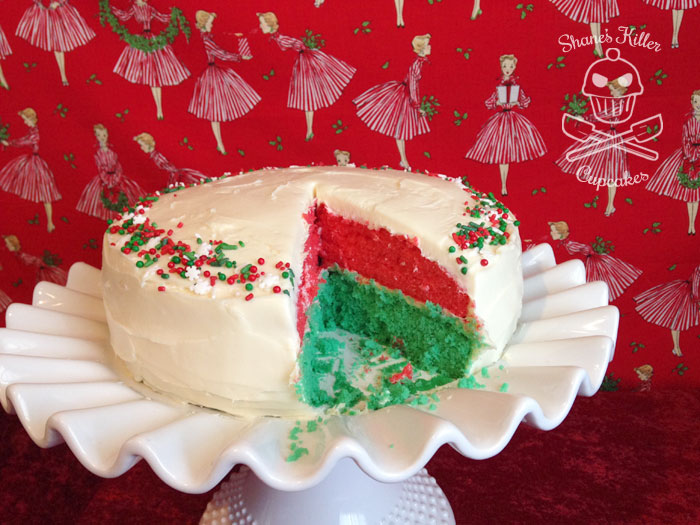
I don’t know how they got the frosting so clean in the cake box photo. Crumbs got all mixed up into mine when I cut the cake. I found out later that chilling the cake briefly does make the cake more firm for slicing, but it’s still a bit crumbly.

Now to the taste. As I expected, the cake was a little too sweet for my liking. If you like really sweet desserts, this might be the cake for you. A little goes a long way, because it’s so sweet and rich. Chilling the cake helped cut down on the sweetness too somehow. A small piece of this with some not-too-sweet coffee would be pretty good though!

Here’s that first slice I cut that fell all over the place. I was able to salvage it by putting the ugly side to the back. Oh the things I do for pretty photography.

IMG_3918

Overall, I did like this cake. It was bright and moist and looked very Christmassy. The only negative things I found were mostly with the frosting, because it wasn’t as white as I expected, and it was too sweet. The cake itself is so sweet, it could be a dessert on its own.

Want a chance to give it a try? Enter the giveaway below for a Holly Jolly Kit that includes one box of Holly Jolly Cake Mix and two tubs of Holiday Frosting.

BUY IT

If you would like to buy the Holly Jolly cake mix, it can be found at Target and Stop and Shop, and the Holiday Frosting can be found exclusively at Target until January 2015. Some of the holiday products can be found online at www.gartnerstudios.com.

CONNECT

Stay up-to-date on all things Duff Goldman by Gartner Studios! Follow on Facebook and Twitter.

WIN IT!

One lucky reader will win their own package of Duff Goldman by Gartner Studios Holly Jolly Cake Mix and two tubs of Holiday Frosting!

Open to U.S. residents 18 and older. Giveaway ends 12/24/14 at 11:59 pm EST.

Click HERE for complete giveaway rules.

To Enter, just fill in your name and email into the Rafflecopter widget below. For a better chance at winning, complete as many of the optional entries as you want. Come back daily for more entries!

If the Rafflecopter widget does not show up, just click the link that says “a Rafflecopter giveaway.” Then you can put your entries on that page.

a Rafflecopter giveaway

****I received these products free of charge for an honest review of the products. I was not compensated monetarily for this review and all opinions are my own.****

Pin It

Chocolate Snowball Cookies by Duff Goldman {Review and Giveaway}

Posted on

IMG_3697

I’m a huge chocolate fan. I love everything chocolate. So when Gartner Studios offered to send me this Chocolate Snowballs Premium Cookie Mix to try, I won’t lie, I was a little too excited. I love trying new things, and it doesn’t hurt when those new things are also chocolate!

I’ve reviewed Duff Goldman by Gartner Studios in the past and enjoyed the mix, so I looked forward to receiving this one as well.

For those of you who may not know, Duff Goldman is considered the “bad-boy-of-baking” and is known for his Ace of Cakes baking show on Food Network. He created this line of baking products so people could produce their own baking masterpieces at home. I like his products because they are always so eye catching.

IMG_3707_2

The Chocolate Snowball cookies are pretty good too. Described by the company as the “perfect snow-day treat,” they combine a good combination of powdered sugar and chocolate flavor. I almost wished they were a little more chocolaty, but they still tasted great.

The cookie mix comes with chocolate cake mix and a packet of powdered sugar. All you need to add is 2 tablespoons of butter and 2 eggs. They include plenty of powdered sugar too. I still had half a packet left after I covered all the cookie balls. You could add more powered sugar to each cookie, but I didn’t want the sugar to overpower the chocolate. The box also says that it makes 3 dozen cookies, but I only got about 22 out of it. I guess my cookie balls were a little too big, but if you made them much smaller, these cookies would be pretty tiny in the end. Most of my cookies were about 2.5 inches in diameter.

When combining the ingredients, it seemed too dry at first, but after it got too thick for my stand mixer to do any good, I mashed the dough up with my hands for a bit and that allowed the butter to warm up and infuse the dough with buttery goodness. The cookie balls rolled out pretty easily and didn’t fall apart like I thought they were going to when it looked too dry at first. The dough has a little bit of a grainy texture which could turn some people off, but wasn’t too problematic. In the end, it all worked out though!

IMG_3713_2

They were chewy and chocolaty and powdery! I would try these again for sure.

If you liked this product, stick around! I’ll be reviewing and giving away the Holly Jolly Cake Mix and Holiday Frosting by Duff Goldman soon!


BUY IT

If you would like to try these cookies, the mix can be found at Walmart and Target or online at www.gartnerstudios.com.

CONNECT

Stay up-to-date on all things Duff Goldman by Gartner Studios! Follow on Facebook and Twitter.

WIN IT!

giveawaymed

One lucky reader will win their own package of Duff Goldman by Gartner Studios Chocolate Snowballs Cookie Mix!

Open to U.S. residents 18 and older. Giveaway ends 12/17/14 at 11:59 pm EST.

Click HERE for complete giveaway rules.

To Enter, just fill in your name and email into the Rafflecopter widget below. For a better chance at winning, complete as many of the optional entries as you want. Come back daily for more entries!

a Rafflecopter giveaway

****I received these products free of charge for an honest review of the products. I was not compensated monetarily for this review and all opinions are my own.****


Christmastime Giveaway!

Posted on

IMG_3675

I love Christmastime and always like to celebrate it with my readers by putting together a little Christmas prize package to thank you for following me for the last few years.

I try to find some of the cutest baking supplies that pop up in stores at this time of year and supplement them with a few other fun things!

Here’s what you could win in this year’s giveaway:

IMG_3679

  1. Wilton Icing Decorations in the shapes of Santa, his elves, and his reindeer.
  2. Christmas paper straws
  3. Betty Crocker Shortbread mix (I used this mix to make the Chocolate-Dipped Shortbread Tea Bag Cookies earlier this year)
  4. Santa cupcake liners
  5. Mini Christmas cookie cutters
  6. Holiday sprinklesIMG_3682
  7. Rudolph, the Red-Nosed Reindeer movie bag
  8. Cupcake Stickers
  9. A charm bracelet with sweet charms
  10. A cupcake ornament
  11. Cake Batter flavored Chapstick
  12. Holiday socks
  13. Christmas colored Sixlets candies
  14. Candy Cane flavored Pop Rocks
  15. Swiss Miss hot cocoa mixIMG_3690_2
  16. And an extra special last minute addition: Nordicware holiday cake pop baking pan!

I found the baking pan during after-Christmas sales last year to save for this year’s giveaway and totally forgot about it when I was taking the initial photos for the giveaway. Luckily for you, I remembered the pan at the last minute!

Enter the Giveaway

To enter the giveaway, enter your name and email into the mandatory entry space in the Rafflecopter widget below. You are now entered to win this entire package!

For extra entries, and a better chance at winning, fill in any of the optional entries thereafter.

The giveaway ends at 11:59 EST on December 14th (my birthday! whoo!) and is open only to US residents who are 18+ years old.

For complete rules click here.

a Rafflecopter giveaway

Pin It

Holiday eShakti Dress Giveaway

Posted on

headimage

I’ve reviewed eShakti.com dresses a couple times in the past and really love how customizable they are, yet still affordable. Lucky for you, eShakti has given me the chance to offer my readers another giveaway for their website! One winner will be able to choose any dress they like from eShakti.com’s large selection of fully customizable dresses. What a better time than now to pick out that special holiday dress you’ve been meaning to buy!

eShakti offers many ways to customize a garment including changing the neckline, hem length, or sleeve length. You can also input your personal measurements to make sure your dress it going to fit your exact body type. You can get all of these customizations for just an extra $7.50! Taking a dress to a seamstress or tailor to custom fit it could cost easily ten times as much, sometimes even more. And it even gets better: If you’ve never customized a dress from eShakti before, your first time is free!

customsleeve

If you’d rather buy a dress without customization, they offer sizes from 0-36W. Every woman is welcome at eShakti.

Another perk if you’re new to eShakti, if you register with their website, you get a $30 gift coupon toward your first order! They really want you to have their clothing, guys.

eShakti also offers a selection of skirts, tops, and jackets. Check out their New Arrivals section for their latest beautiful editions.

You can choose any dress you want from eShakti if you win the giveaway, but I’ve selected a few dresses below that I think would be perfect for the holidays:

1. Beaded snowflake ponte sheath dress

2. Beaded crepe sheath dress

3. Beaded polka dot tulle dress

4. Floral lurex jacquard sheath dress

5. Floral jacquard sequin waist dress

6. Grace dress


FOLLOW & CONNECT

You can now connect with and follow eShakti on Facebook, Twitter, Pinterest, Tumblr, Google+, and Instagram!

GIVEAWAY

To Enter: Fill out the mandatory entry of your name and email in the Rafflecopter widget below. After that, enter as many optional entries as you like to increase your chance of winning.

Eligibility: eShakti only ships to the US and Canada at this time, so unfortunately, this giveaway is limited to residents of only those countries.

The giveaway ends at 11:59 pm EST on December 1st, 2014. Come back daily for more entries!

For complete giveaway rules click the link below:

Official Giveaway Rules

a Rafflecopter giveaway

Pin It

Evil Witch Cupcakes

Posted on

IMG_3209

Wicked witches are one of my favorite Halloween monsters. I love that they use potions and spells and cats (CATS! I love cats) to enact evil. I just can’t get enough of them.

There are many ways to make them into cupcakes, but after looking for ideas online for witch cupcakes, none of them quite looked like how I wanted my witches to look. Some were too cutesy, others hinted at witches but didn’t have faces, and so on. I knew I wanted my witches to have certain features: a mean or scary face, a hat, and a nice big hooked nose with warts.

These were the cupcakes I came up with! Of course, when coming up with something new, you learn a few things along the way, especially what not to do! I like how they turned out, but they did put up a little fight while I was building them.

My troubles started when I could no longer find chocolate sugar cones in the stores. I know they existed in the past, because I bought some once, but I guess they have since been discontinued, as every store I checked only had regular sugar cones. I acquiesced and got the regular ones, but the chocolate ones would have worked better. I’ll get to why a little later.

IMG_3196

You’re going to want to collect quite a few things for this project. I’ll give you a list of all the items I used, but you’re in no way confined to it:

  • Sugar cones (preferably chocolate ones if you can find them)
  • Cupcakes of your choosing (I used Duncan Hines Devil’s Food)
  • Chocolate wafers (I used Nabisco Famous Chocolate Wafers)
  • Green chewy candy (Starbursts or Tootsie Rolls)
  • Decor gel in black and green
  • Green and yellow food coloring drops or gels
  • White frosting (I used this recipe from the Food Network)
  • Halloween candies and sprinkles (bugs, pumpkins, skulls and bones, colored sprinkles, etc.)
  • Candy eyeballs and/or M&Ms for eyes
  • Crispy chow mein noodles (I used these ones)
  • Candy melts in chocolate or black color

While you bake your cupcakes, you can get some of the decor items made. I made the witch hats first, because I knew they were going to take some construction time and need time to chill. If you can find chocolate sugar cones, this process will be much faster, as you won’t need to cover them in chocolate. Using chocolate cones is the preferred method, because the chocolate dipped hats were just a tad too heavy for my cupcakes and they toppled over! But if you can’t find the chocolate cones, here’s how to construct the hats.

IMG_3204

Cut the cones down a bit with a small serrated knife to make them fit the chocolate wafer cookies better. To keep it from cracking apart, make small cuts all the way around and then gently break it off. If it’s jagged, use a small cheese grater or a Microplane zester to file the bottom smooth.

IMG_3205

Next, melt your candy melts in a bowl and dip both the cookie wafers and the outside of the cones in it. While the chocolate is still wet, on a wax paper-lined cookie sheet, place the cone on top of the wafer to form a hat.

IMG_3206

If you find the chocolate cones, all you need to do is dip the bottoms of the cones in the melted chocolate and place them on the wafer brims to glue them together. Since the cookie wafers and chocolate cones are relatively the same color brown/black, they don’t need to be dipped fully in chocolate. This also makes the hats lighter and less likely to tip your witches over.

Stick the freshly dipped hats in the fridge to harden.

IMG_3208

The next things to work on are the noses. Warm the green chewy candies in the microwave for 10-15 seconds to make them pliable. I used green Tootsie Fruit Rolls for my noses. Each Tootsie Roll makes two noses. Shape the noses with your fingers until they look how you like. One thing I found out while making these is that the noses fell off the face easily, so to keep them on, cut a toothpick in two and stick it into the back of the nose.

Make your frosting, or use canned frosting, and color it the same green as the noses. You may need to use a little yellow coloring too.

For the witch hair, I used the crispy chow mein noodles dipped in chocolate. Chill these as well. You could use a number of things for the hair though. Another idea would be black licorice string.

IMG_3219

Decorate the hats when they are chilled with candy sprinkles. I used some of the decorating gel to draw a band around the hats and then placed different candies and sprinkles on them.

Once the cupcakes are cooled, peel the wrappers off of the ones you plan to make into witches. For the faces, the cupcakes will be placed on their sides, so cut off part of a side of a cupcake to create a flat surface for the cupcake to sit on. Cut off the opposite side to make a flat surface for the hat too. Then frost the cupcakes with your green frosting.

Place the eyes, nose, and hair onto the cupcake. For a craggily-looking witch, add some warts. I used a brown round candy sprinkle for her face warts and the decorating gels for warts on the noses. Draw on a mouth and for angry eyebrows, use a single sprinkle each. Lastly, place the hats on the top. If the hats are too heavy, like mine were, prop the cupcake up in the back with something. I used the tops of the ice cream cones that I had cut off earlier.

IMG_3232

Since the witches were difficult to put together, and kept threatening to fall apart, I only ended up making three and used the rest of my supplies to make other treats. The chocolate-dipped hats are pretty good treats on their own. Since I still had about 20 cupcakes left, I just frosted them normally, and decorated them with the Halloween sprinkles.

IMG_3224

One thing I loved about these witches is that each witch ended up with a different facial expression and personality. One looked mean, another scared, and the other looked confused.

IMG_3210
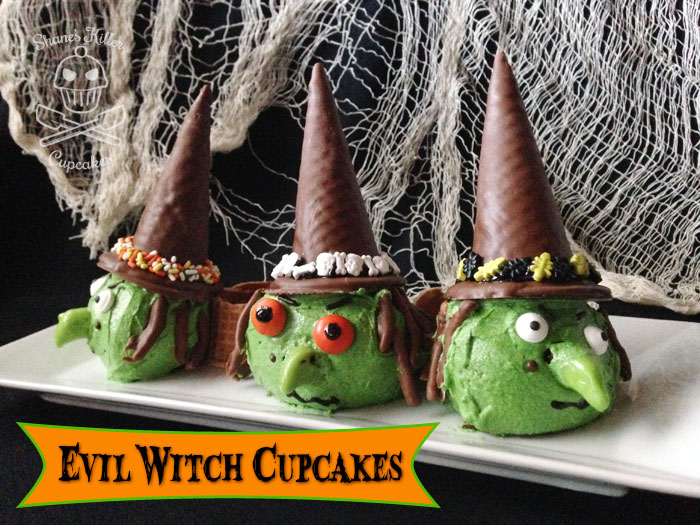
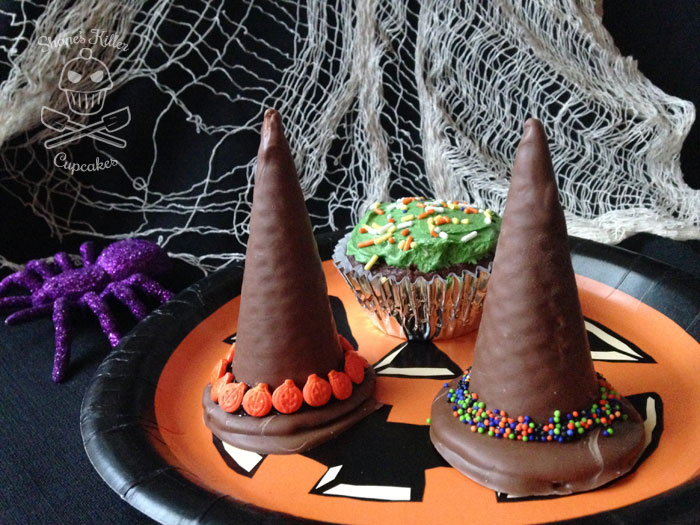
I hope you give these evil witch cupcakes a try this year even if they are a little difficult to construct. Since they are so customizable, they would be great for a decorating party.

Even my cat wanted to get in on the decorating!

IMG_3200

Photo shoot crasher

Have a safe and happy Halloween, everyone!

Pin It

Cheers to Vegan Sweets Cookbook #Giveaway (8/7-8/15) US

Posted on

IMG_2487
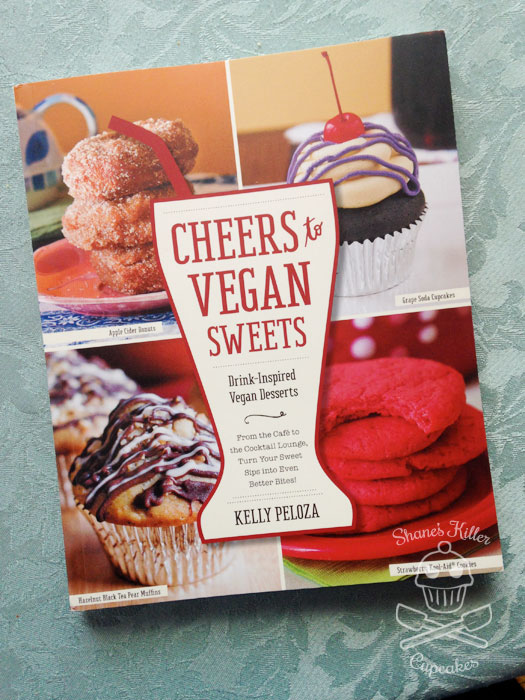
You know what’s more awesome than winning a copy of Cheers to Vegan Sweets: Drink-Inspired Vegan Desserts by Kelly Peloza? Winning TWO copies of it! A couple of months ago I won a copy of Cheers to Vegan Sweets from Cut Out and Keep. The prize finally showed up this past week. I was excited to get it, because I haven’t made vegan treats before and I’m interested in trying them out.

Then two days later another copy of it showed up! What!? Someone at the publishing company must have made a mistake. Should I have contacted the publisher to return the second book? Probably. But I’m sure they’d tell me to keep it. Plus, I have a group of awesome readers who love baking, so hopefully they won’t have a problem with me sharing it with you!

If you’d like to check out a couple of the recipes from the book, click here!

How to Enter

To enter, leave your name and email address in the mandatory entry in the Rafflecopter widget below. That’s it! If you’d like to increase your chances of winning, enter as many of the optional entries as you want. Some are even daily!

Rules

Entrant must be 18 years of age or older and be a resident of the US. Shane’s Killer Cupcakes is mailing this prize and only US addresses will be accepted. This giveaway starts at 12:01am EST on 08/07/14 and ends at 11:59pm EST 08/15/14.

For the complete giveaway rules, click here.

a Rafflecopter giveaway

Related Posts Plugin for WordPress, Blogger...Pin It