
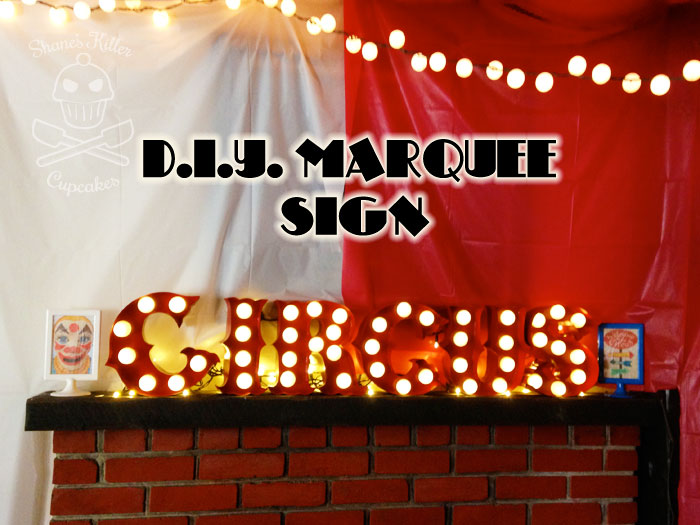
This past weekend I had a circus/carnival themed party at my house. When I first started planning the party, I knew I wasn’t going to have a lot of money to spend on decor, but I needed to have some big spectacular pieces if I wanted my house to look anything like a circus.
Luckily, a trip to the dollar store for some plastic tablecloths fixed my circus tent situation, but what is a circus without its sign?!

Marquee letters and signs can range anywhere from $30-$40 per letter and into the hundreds for whole signs! I don’t know about you, but I wasn’t going to spend that much on a decor item for some silly party I’m having for friends. It’s just not going to happen.
As I do with many things I can’t afford, I make them. While oftentimes making an item can end up costing more than the store bought item, in this case, it’s just the opposite!
Most of the items for this project can be found around the house or easily bought for little money.
Supply List
- Poster board
- Letter stencils
- Foam core board
- A string of LED lights (length depends on how many letters you make)
- Ping pong balls
- A drill with a bit
- A box cutter/ X-acto knife
- String
- Pencil/pen
- Glossy spray paint
- Hot glue gun/ hot glue sticks
- Masking tape
- Ruler/yardstick
First you want to make the letter stencils. Find the right font for your sign and print the letters out at the correct size for tracing onto the foam core board. I used Freak Show font because it had fat wide letters that would be easy to fit the ping pong balls into and it looked like a circus font. Just remember, if you use a fancier font like I did, this project will take longer to edge with the poster board.
If you want your letters to be bigger than a sheet of 8.5″ x 11″ paper you can use blockposters.com to break your letter image onto other sheets of paper and then cut and tape them together.
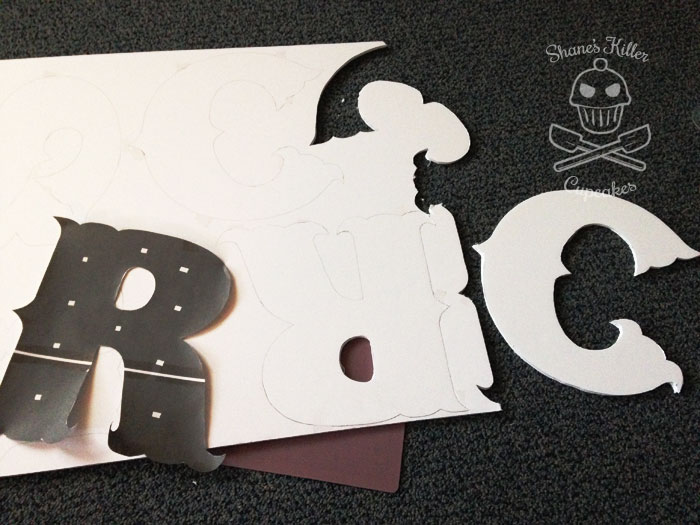
Once you have your letter stencils cut out, trace them onto the foam core. Since my sign was relatively small, I only needed one sheet of foam core. Cut out the letters with a sharp X-Acto knife. A sharp craft knife is important because you won’t have to push down as hard and the edges will be smoother. Also make sure to put something under the foam core such as a self healing cutting mat or a piece of cardboard, so you don’t cut into something you care about.
At this time, use your drill to make 1/4″ holes in the foam core where you want the lights to push through. If you need larger holes, you can use a larger bit or stretch the holes by pushing a thick pen or marker through the hole. I had to use the pen trick, because I didn’t have any larger drill bits!
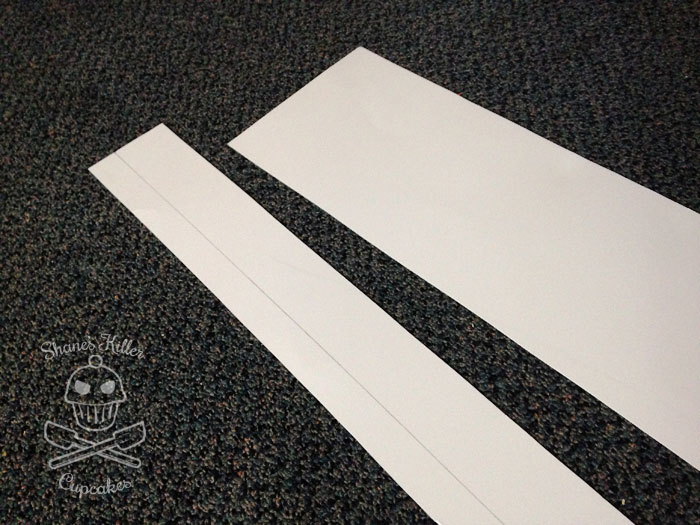
Next, cut 3″ strips of poster board. I just cut one long strip and then cut it down as I figured out the lengths I needed. I also drew myself a guide line about 1″ in on one side so that I knew where to glue the strip to the edge of the foam core.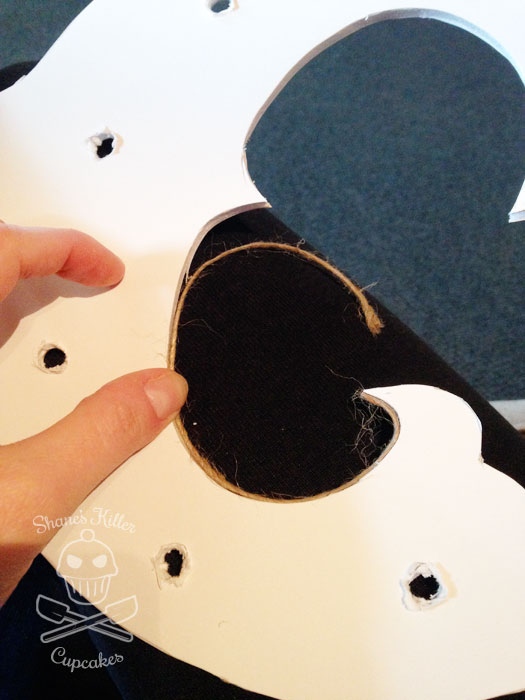
To measure the lengths of poster board, take a piece of string and run it along one continuous side. Cut the string to the correct length and then measure the string for the length to cut the poster board to.


