
I don’t know about you, but I’ve been a Mad Men fan for years. As difficult of a time as the 1960s (and now ’70s) were, Mad Men has always made this decade seem so sexy and cool. I’ve had a long time love affair with mid-century decor and watching Mad Men is like TV porn for me. The costumes are so specific and structured, the sets are so stylistic and unique, and although the food of the ’60s isn’t featured on the show as much (outside of alcohol, so, so much alcohol), the food of the ’60s was also very interesting.
When I find a cookbook from this era, I get really excited. The colorful, yet desaturated photography of the time made the food look almost plastic, and in some cases unappetizing, but I still feel a sort of whimsy when I see the recipes from so long ago.
One book that captures both the recipes of the time and the show Mad Men is The Unofficial Mad Men Cookbook: Inside the Kitchens, Bars, and Restaurants of Mad Men by Judy Gelman and Peter Zheutlin. This book delves into the food and drink that appears on the show. Featuring recipes from some of the restaurants and bars mentioned on Mad Men, and cookbooks of the time, The Unofficial Mad Men Cookbook gives us a nice sample of of the cocktails, entrees, and desserts of the ’60s. Many of the recipes are paired with a show reference, history of the dish, or a suggestion for a character from the show. This is a cookbook that informs you of the past while teaching you the recipes. I love that!
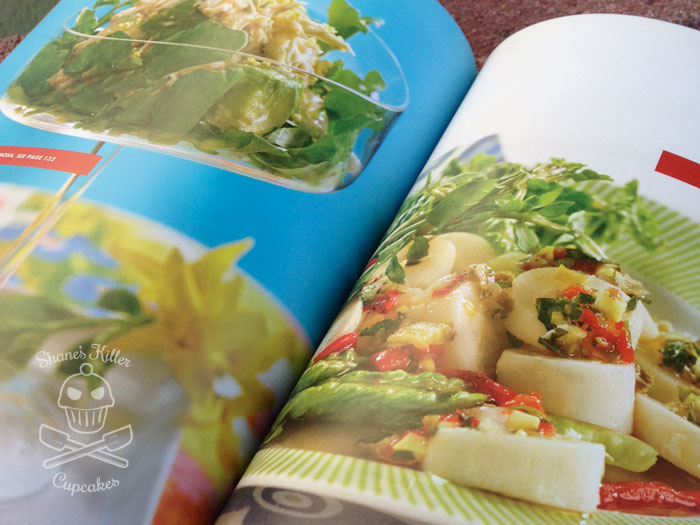
While there is a lovely section of full-color pictures from some select recipes, this cookbook is more focused on print information than photographs of the final products. What that means is the book is packed with more than 70 recipes that represent mid-century eating and drinking and the stories that go with them. Speaking of drinking, over 25 of those recipes are cocktails alone, which isn’t a surprise when you consider alcohol is one of the most consistently prevalent things on Mad Men.

One of the recipes I tried from the cookbook was the Manhattan. I love Old Fashioned cocktails, just as Don Draper does, but since I’ve had those before, I decided to try the Manhattan. It’s a similar cocktail, using whiskey and bitters, but with less ingredients and not nearly as sweet.
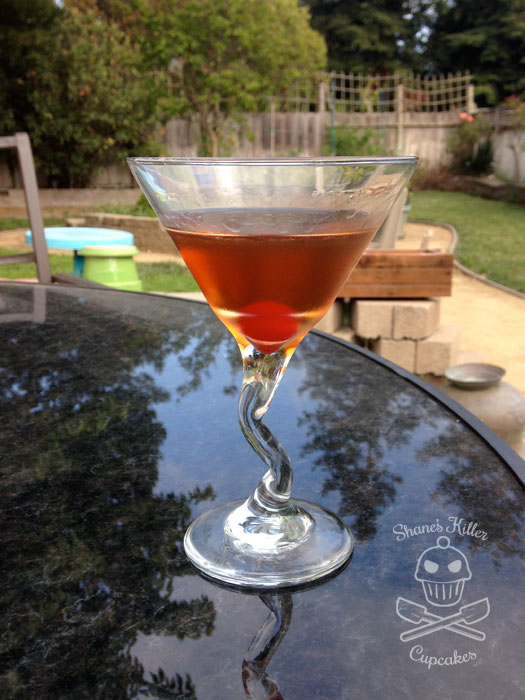
Manhattan
- 2 ounces rye whiskey
- 1/2 ounce sweet vermouth
- 2-3 dashes of Angostura bitters
- Maraschino cherry, for garnish
Pour whiskey, vermouth, and bitters into a mixing glass with ice cubes. Stir well.
Strain into a chilled cocktail glass. Garnish with the cherry.
**recipe reprinted with permission
This version of the cocktail is from the Oak Bar on Central Park South in New York where Don and Roger Sterling stop for an after-work drink in season 1 episode 7. One thing that makes this cookbook unique, especially for a Mad Men fan, is that it points you to the episode that the drink or dish appeared, or could have appeared, in the show.
Continue reading »
 Pin It

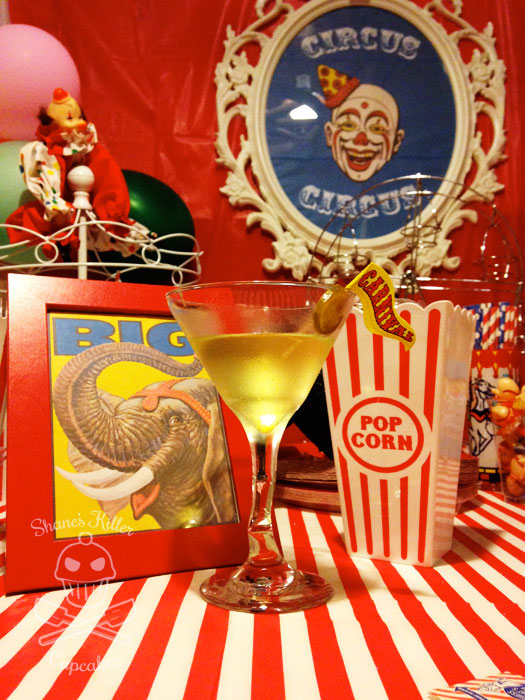

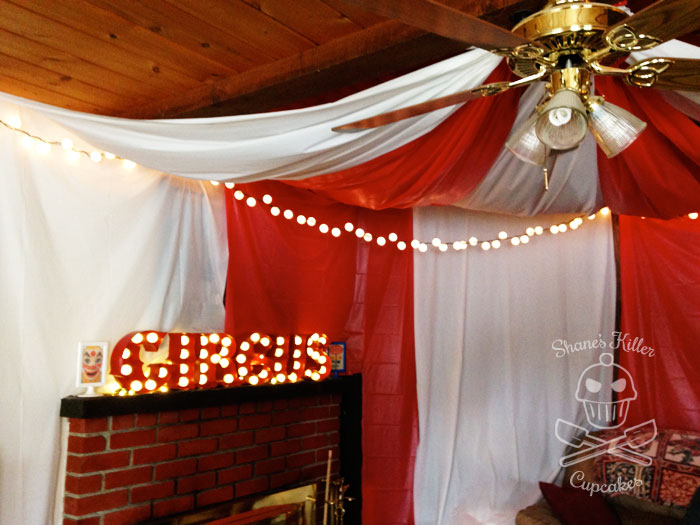

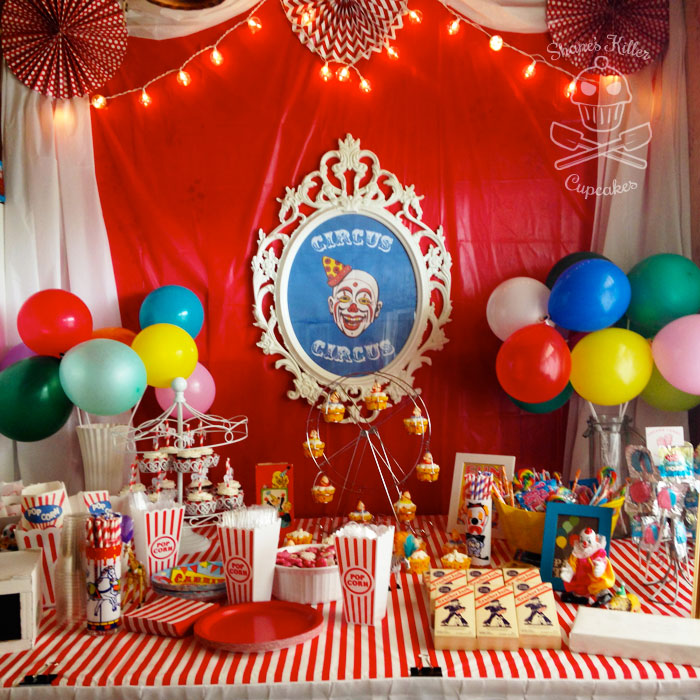
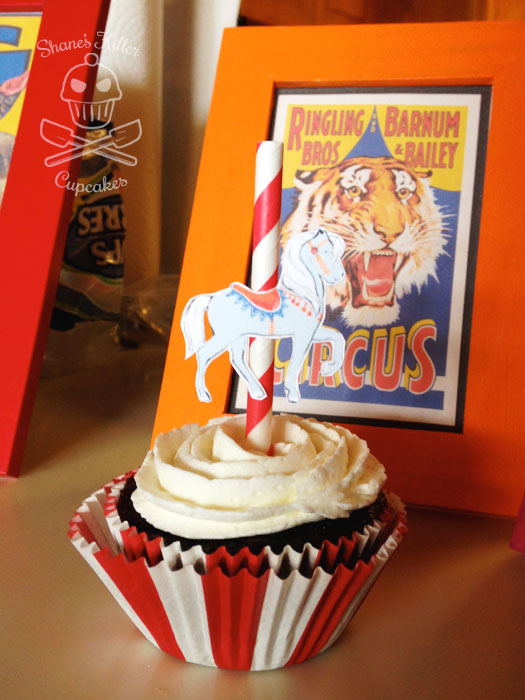
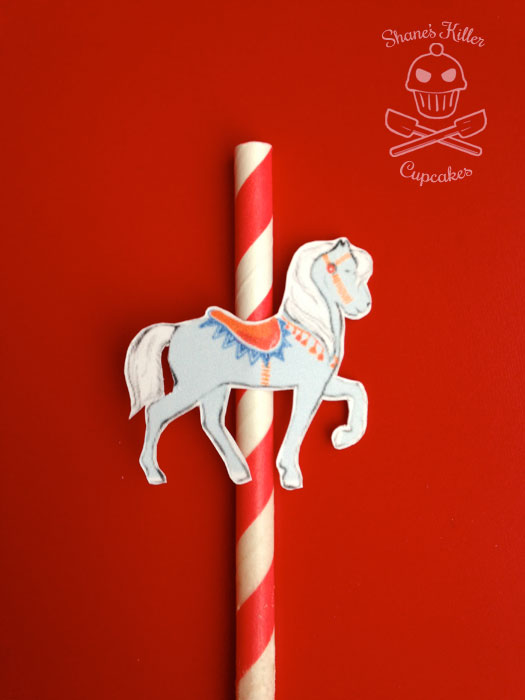
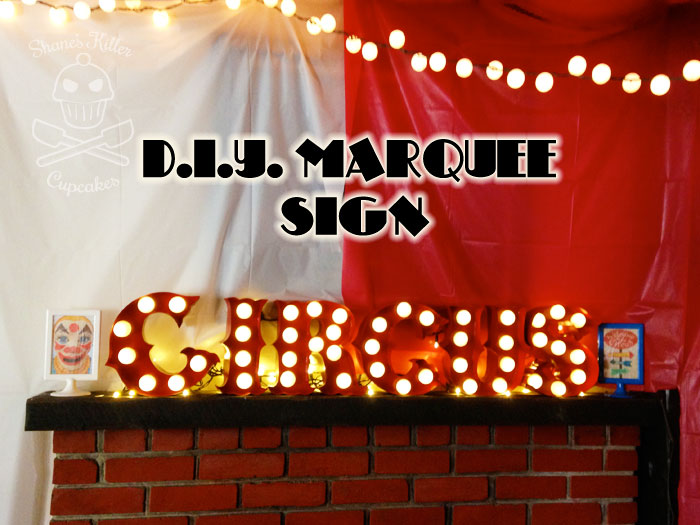
 The circus/carnival party I had was a great success and I wanted to share the cute cupcakes that I made for it. For more details about the party
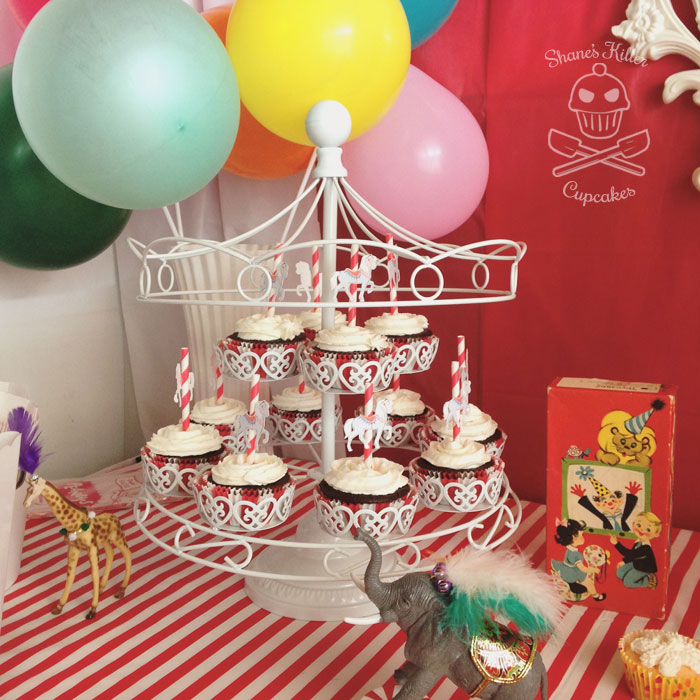


