Crazy Cat Lady Party

Posted on

I don’t know about you, but I love everything about cats. Most of my life, I’ve pretty much only had cats as pets and love the comfort of having them around. I know a lot of people don’t like cats because they can be little assholes sometimes, but I love little asshole cats too!

It had been a while since I had thrown a theme party, and I couldn’t decided what theme to choose, until I saw these paper plates in a store. They made me chuckle and that’s when it hit me! I need to celebrate the crazy cat lady in myself and invite all my crazy friends along for the ride. Everything, then, spiraled into cat-fueled delirium from there.

I always start my party planning by figuring out what decorations I plan to have and which of those to make myself. I am a self-proclaimed D.I.Y. Master, so making my own decor is a lot of fun for me. From the blog, Daisy Dreaming, I got the idea to make little tiny scratching posts for the food labels. I took their idea a few steps further by adding bright-colored, curled up paper clips, a little cat toy, and some fabric to the base of the post. I was incredibly happy with how they turned out!

To include a bit of the “Internet Cat” feel to my party, I made the food labels look like the oh-so-familiar cat memes you can’t escape online. Altogether, the scratching posts and food labels were popular at my party. A couple of my friends even took some home with them as party favors at the end.
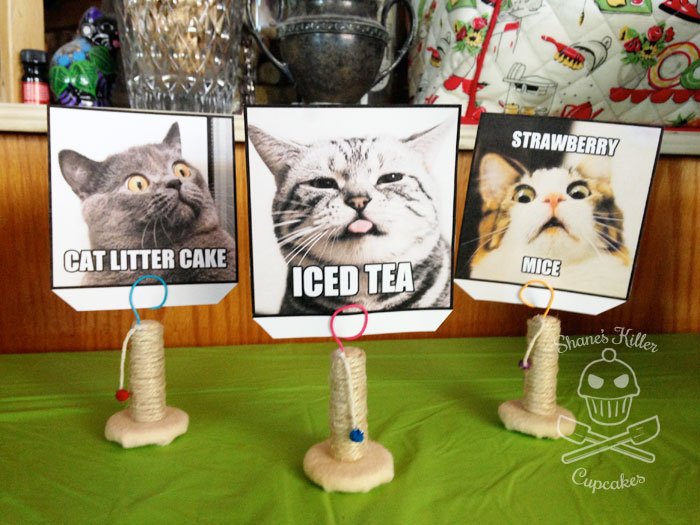
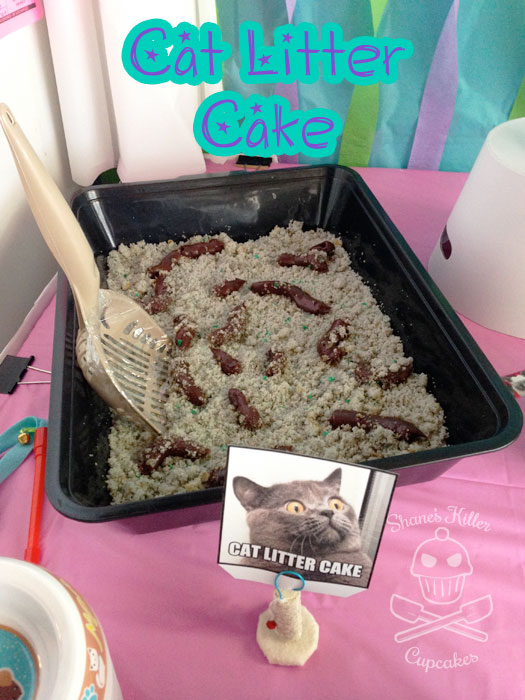
Speaking of the food, I had to have some cat themed food at this party. The most popular (well, not too popular) item was the Cat Litter Cake! Most people were too grossed out by the look of it to even eat it. That just means more cake and frosting goodness for me!
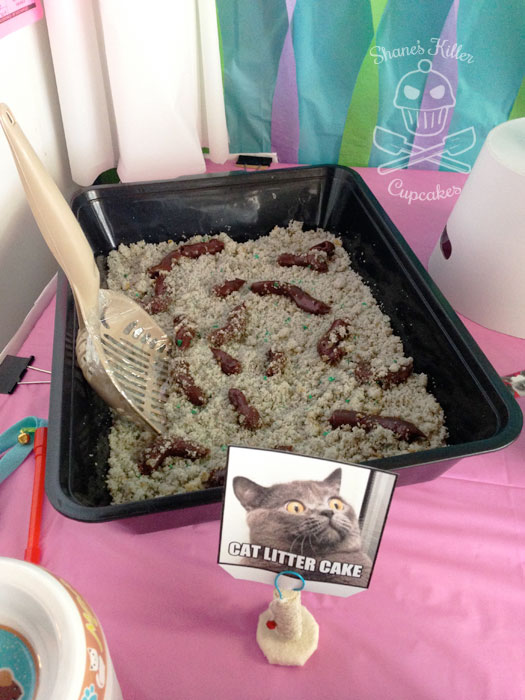
This was the easiest cake I think I have ever made. It consists of a box of white cake mix and the ingredients to make it, canned chocolate frosting, and some food dye. For a more detailed tutorial click here for the recipe.

Continue reading »


Cat Litter Cake {Crazy Cat Lady Party Idea}

Posted on

The pièce de résistance at my Crazy Cat Lady Party was the gross-looking-but-oh-so-delicious Cat Litter Cake. It’s probably the easiest cake I’ve ever made. People at all baking levels can make this one. Even kids! I dare you to try a scoop!

Before you bake the cake, make sure to get a brand new cat litter box or something similar and a new cat litter scoop. I was able to find these at dollar stores. I wrapped my scoop with cling wrap so that the cake wouldn’t fall out between the slots.

Cat Litter Cake

Ingredients

  • 1 box of white cake mix (and whatever ingredients it calls for)
  • 1 10 oz. can of chocolate frosting (a regular 16 oz can is fine if you can't find the small ones)
  • Black, blue, and yellow food coloring

Instructions

  1. Blend the white cake batter together according to the instructions on the box.
  2. In a small bowl, separate out about a 1/2 cup of the batter (the amount of one cupcake).
  3. In the big bowl of batter place a few drops of black food coloring to tint it a light grey. If you want the cake to be cat-litter accurate, make sure to find some photos (or your own litter) for reference.
  4. Some litters have little specs of green or blue in them (deodorizers?) so color the small amount of batter you put aside a green or bluish color of your choice with the blue and yellow food coloring. I went with a turquoise color.
  5. Pour the grey batter into a 9" x 13" cake pan
  6. Scoop the green batter into a cupcake tin lined with a cupcake wrapper.
  7. Bake the cake according to the instructions on your boxed mix. Make sure to check on the green cupcake at least 10 mins earlier than the full cake, so it doesn't overcook.
  8. When the cake is done baking, let it fully cool before you place it in the litter box.
  9. Crumble up the cooled grey cake into the litter box until it's fine little pieces that look like litter. Then crumble the green cupcake over that (you may not need all of it) until you like the grey to green ratio.
  10. Take a frosting bag or Ziplock bag and cut a corner off. The amount of the corner you cut off depends on what size "cat poops" you want.
  11. Spoon the chocolate frosting into the Ziplock, seal it, and get creative! If you have cats you know how wild it can get. Make small poops and large poops, curled poops and straight poops, poops that hang off the side of the box or roll some around in the "cat litter" cake. Keep adding frosting poops until you like how it looks.
  12. Then sit back and watch no one want to eat your delicious cake!
https://shaneskillercupcakes.com/2017/03/cat-litter-cake-crazy-cat-lady-party-idea/

If you make this, tell me how your guests react in the comments below. My friends didn’t even touch it until I started to serve it to them in little cat food dishes. It tastes great if you can get past the look of it, and it’s perfect for serving with ice cream.

Pin It


Ice Cream Cone Cake Pops

Posted on

cakepoptitle2

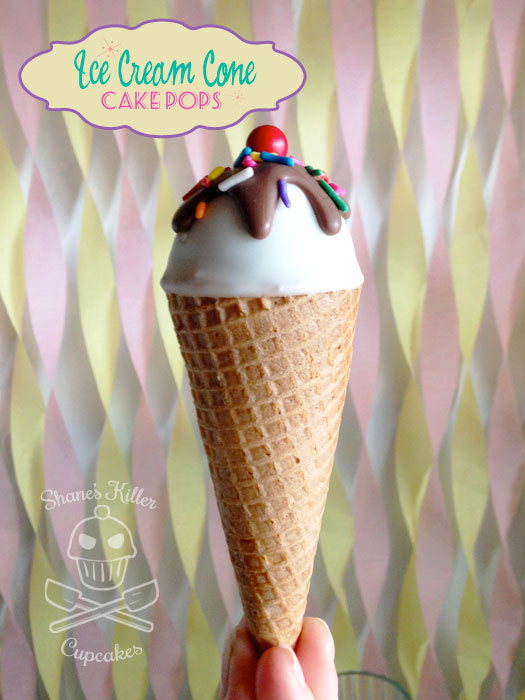
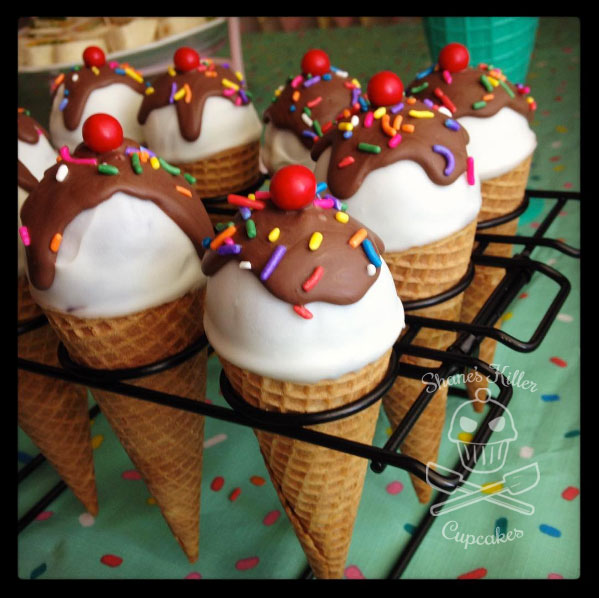
I made these Ice Cream Cone Cake Pops for my recent Ice Cream Social. They were popular. I only made 12 and at some point had to hide one for myself to eat, because they were flying off the table!

They take a bit of prep and construction like most cake pops, but since they aren’t attached to a stick, they are, for me at least, much easier to make.

cakepops

Ice Cream Cone Cake Pops

Yield: 12 cake pops

Serving Size: 1 cake pop

Ingredients

  • 12 pk. of sugar cones
  • 2-3 pks. of candy melts in chocolate and white or pink (I used dark chocolate for inside chocolate and milk chocolate for "syrup" on top)
  • 12 red round candies for "cherry" (I used Sixlets)
  • 1 pk. of cake mix + ingredients used to make the cake (I used Duncan Hines chocolate cake mix)
  • 1 can of frosting (I used chocolate but white frosting works too)
  • Colored jimmies
  • A stand for the cones

Instructions

  1. Make the cake as per instructions on the box or recipe and cook in a 13" x 9" pan. Let cool completely.
  2. While cake is cooking, prepare the cones by placing them in a stand and drizzle about an inch or so of melted* chocolate in the bottom of each cone. Stick the cones in the freezer for a few minutes to set the chocolate.
  3. When cake is cool, crumble the cake finely and mix in up to three fourths of the frosting. Add a little bit at a time until the cake is moist and sticks together.
  4. Chill mixture covered in plastic wrap for 15 minutes.
  5. Form cake balls from the chilled mixture into about 1.5"-2" balls, making one side of the ball slightly more pointed than the other. The pointier end will go into the cone.
  6. To attach the cake ball to the cone, run some melted chocolate around the top inside edges of the cone and stick the ball in. Repeat for all of the pops and then freeze cones again for a few minutes.
  7. Melt* the white or pink candy melts in a mug to cover the rounded "ice cream" cake ball part of the pops.
  8. Dip each cake pop until all of the cake ball is covered up to the top of the cone. Place in cone stand and chill once again.
  9. Melt (or remelt) more chocolate in a Ziploc snip a corner of the bag. Pipe/drip it over the top of the hardened white candy melts. Tap the side of or lightly shake the cone to control the chocolate drips.
  10. While chocolate "syrup" drips are still wet, place one red candy "cherry" and some jimmies on top. Then chill cake pops once more.

Notes

*Melt chocolate according to instructions on the package

https://shaneskillercupcakes.com/2016/06/ice-cream-cone-cake-pops/

IMG_0502

The cake pops are very rich! One pop was enough for me. I wasn’t able to eat my cake pop until the day after the party and the cone was a bit stale by then. I imagine all of the moistness from the chocolate and cake will make the cone less crunchy but it still tastes good and the added chocolate at the bottom of the cone is a nice surprise. It reminds me of those Nestle Drumstick cones.

IMG_0504


A Colorful Winter Giveaway (US) Ends 12/25

Posted on

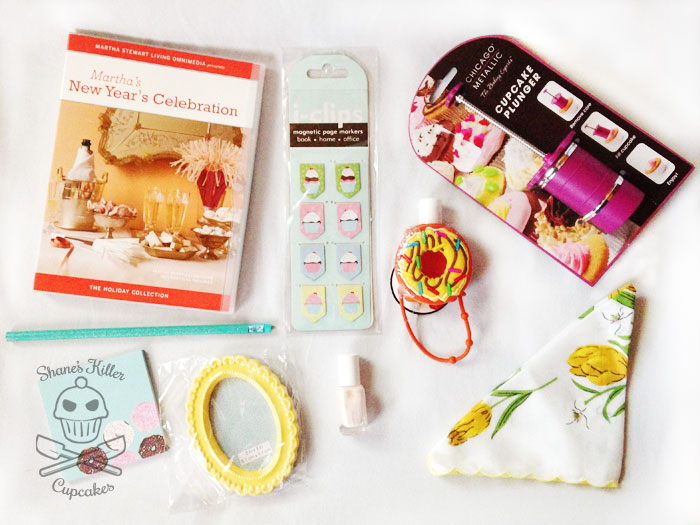
It’s the holidays and the time for giving, so what better time than now to have a giveaway!? I haven’t had a giveaway in some time and usually try to do one every Christmas. This year the items are less Christmas themed than usual. I’ve been collecting the cutest cupcake, dessert, and colorful items I could find throughout the year. This time I have two prize packs to giveaway so there will be two winners!

So let’s get right to the giveaway!

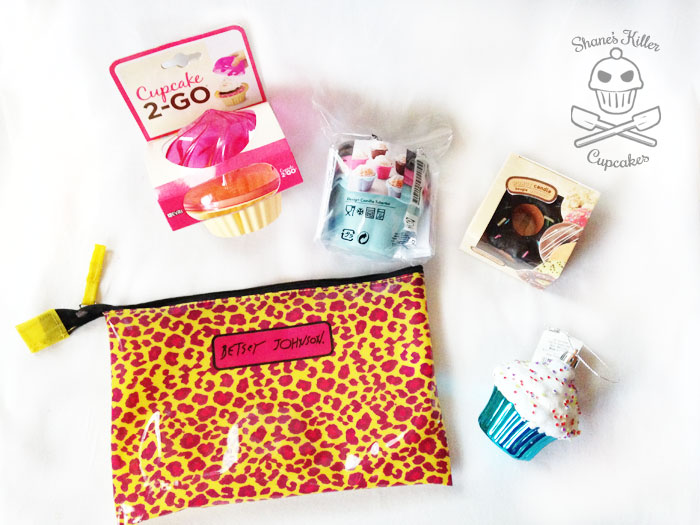
Prize Pack #1 – (Total ARV $50.12)

winter2015giveaway

winter2015giveaway3

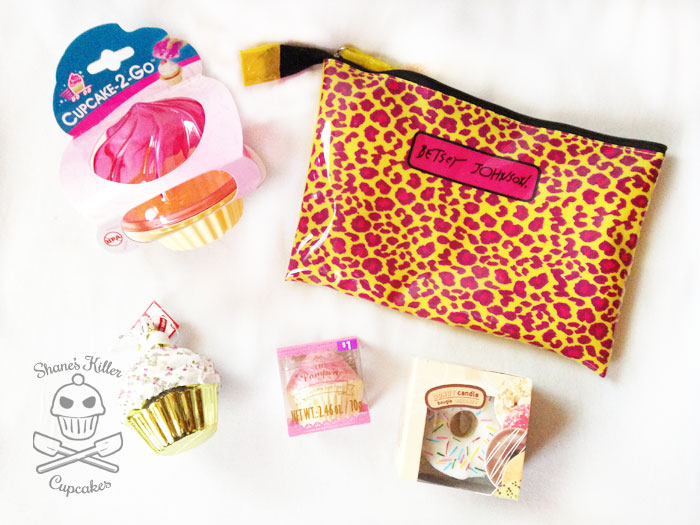
This prize pack includes:

  • Cupcake-2-Go cupcake carrier
  • Betsey Johnson zipper pouch
  • Cupcake ornament
  • Cupcake bath fizz
  • Doughnut candle
  • Martha Stewart’s New Year’s Celebration DVD
  • Cupcake magnetic page markers
  • Cupcake plunger
  • Doughnut sticky notes
  • A frame
  • Essie mini nail polish
  • Doughnut sanitizer
  • A glitter pencil
  • A handkerchief


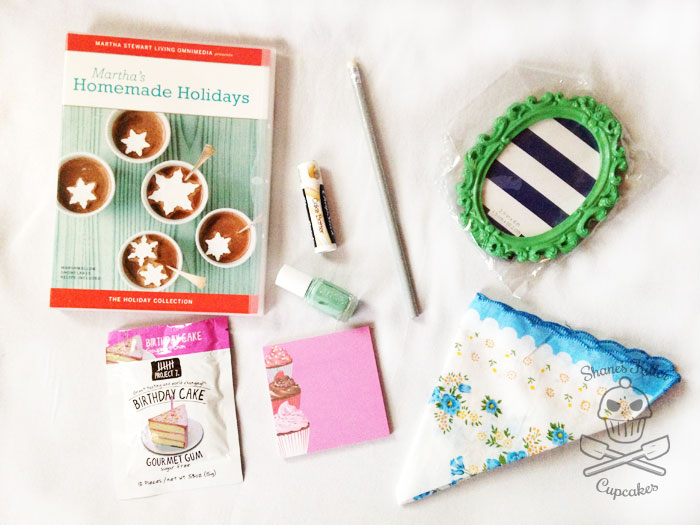
Prize Pack #2 – (Total ARV $47.31)

winter2015giveaway4

winter2015giveaway2

This prize pack includes:

  • Cupcake-2-Go cupcake carrier
  • Betsey Johnson zipper pouch
  • Reusable silicone baking cups
  • Doughnut candle
  • Cupcake ornament
  • Cupcake bath fizz (Not Pictured)
  • Martha Stewart’s Homemade Holidays DVD
  • Chapstick Cake Batter lip balm
  • Essie mini nail polish
  • A frame
  • Birthday Cake Gourmet Gum
  • Cupcake sticky notes
  • A glitter pencil
  • A handkerchief

The Rules for Entry:

To enter you must be 18+ years old and have a shipping address within the US. The giveaway will end December 25th at 11:59pm EST. Enter by filling out the Rafflecopter widget below. Only entering your contact email is required. The rest of the entry methods are optional and will only increase your odds for winning. For complete giveaway rules, click here.

a Rafflecopter giveaway

Related Posts Plugin for WordPress, Blogger...