

I don’t know about you, but I love everything about cats. Most of my life, I’ve pretty much only had cats as pets and love the comfort of having them around. I know a lot of people don’t like cats because they can be little assholes sometimes, but I love little asshole cats too!
It had been a while since I had thrown a theme party, and I couldn’t decided what theme to choose, until I saw these paper plates in a store. They made me chuckle and that’s when it hit me! I need to celebrate the crazy cat lady in myself and invite all my crazy friends along for the ride. Everything, then, spiraled into cat-fueled delirium from there.

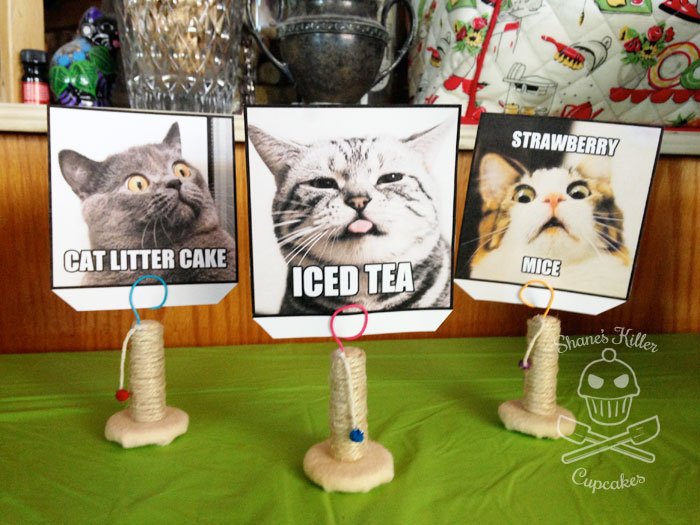
I always start my party planning by figuring out what decorations I plan to have and which of those to make myself. I am a self-proclaimed D.I.Y. Master, so making my own decor is a lot of fun for me. From the blog, Daisy Dreaming, I got the idea to make little tiny scratching posts for the food labels. I took their idea a few steps further by adding bright-colored, curled up paper clips, a little cat toy, and some fabric to the base of the post. I was incredibly happy with how they turned out!

To include a bit of the “Internet Cat” feel to my party, I made the food labels look like the oh-so-familiar cat memes you can’t escape online. Altogether, the scratching posts and food labels were popular at my party. A couple of my friends even took some home with them as party favors at the end.
Speaking of the food, I had to have some cat themed food at this party. The most popular (well, not too popular) item was the Cat Litter Cake! Most people were too grossed out by the look of it to even eat it. That just means more cake and frosting goodness for me!
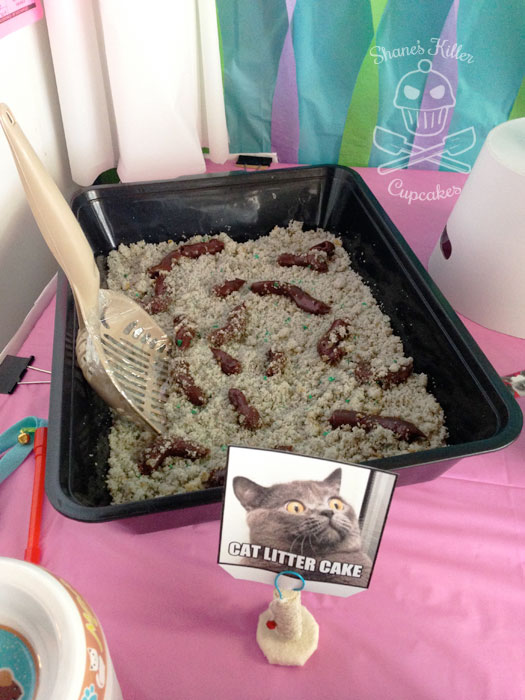
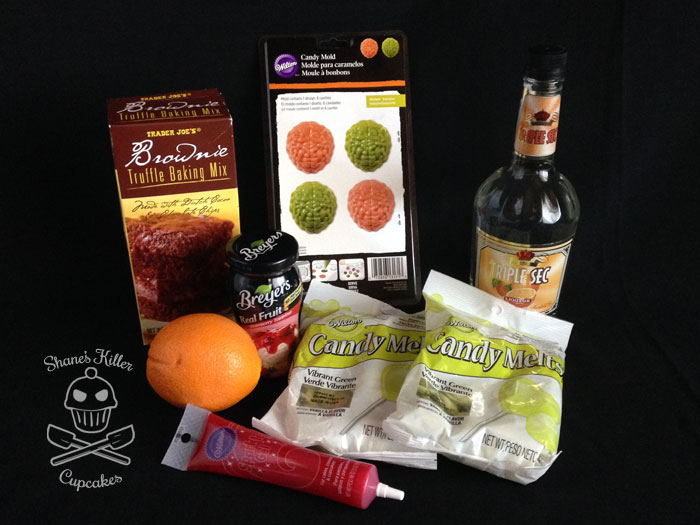
This was the easiest cake I think I have ever made. It consists of a box of white cake mix and the ingredients to make it, canned chocolate frosting, and some food dye. For a more detailed tutorial click here for the recipe.


