 I love cocktails and cupcakes, so what could be more awesome than a cocktail cupcake?! NOTHING! Duh.
What’s even better is the baking supply company, Cakes Under the Influence, makes baking boozy cupcakes super easy with their easy-to-use kits. I got the chance to try out their nifty Entertainer Kit that has everything you’ll need (minus the alcohol) to make a set of cocktail cupcakes and display them. I wish I had had this kit last year when my boyfriend and I threw a ’60s themed cocktail party.
My kit included:
- 1 20″ x 15″ acrylic, dishwasher safe, serving tray that holds up to 12 snap on acrylic stemware
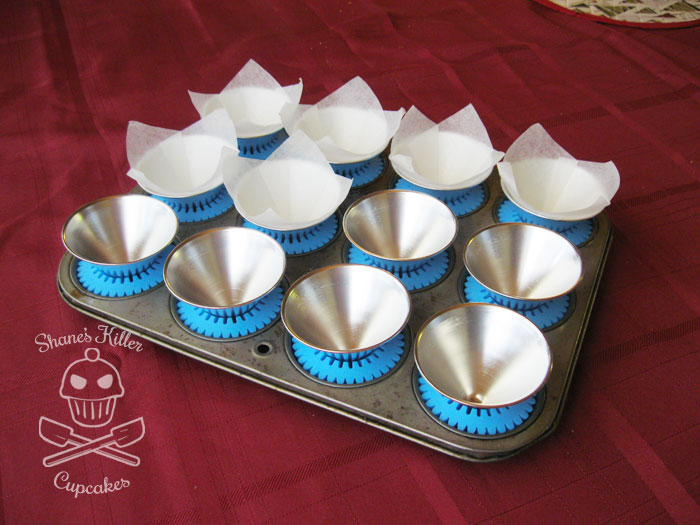
- 12 food safe silicone cupcake stands (to be used with your own cupcake baking pan)
- 12 Mini-Martini shaped aluminum molds (3 oz.)
- 24 greaseproof mini-martini shaped paper baking liners
- 12 martini shaped acrylic, dishwasher safe and reusable, serving cups
- 12 acrylic bottoms that the serving cups snap into (these are usually sold separately from the kit)
- 1 Vanilla Hi-Proof Baking Mix (also sold separately from the entertainer kit)
The kit was also supposed to come with access to the CUI Mobile app available on Apple and Android devices with access to CUI recipes and CUI Community features, but I couldn’t find the app in the Apple app store for my iPod Touch. I also don’t have any android devices, so I couldn’t use the app. Maybe others will have more luck.
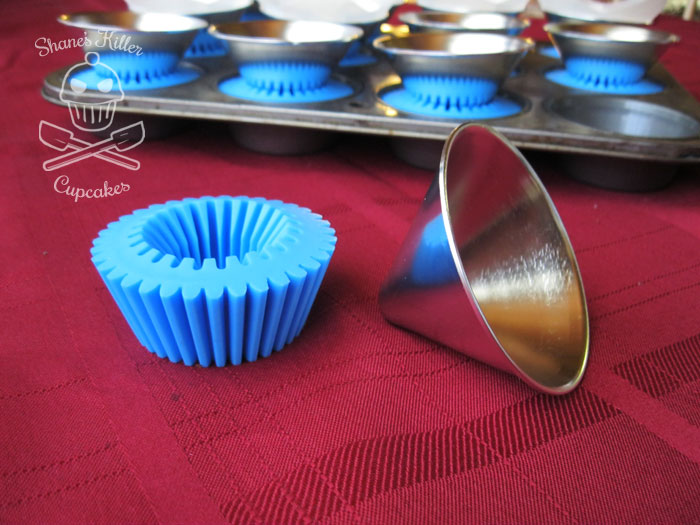
The silicone cupcake stands and aluminum molds worked just fine with my cupcake baking pan. You can use the paper liners with these molds or spray them with cooking spray and use them without paper liners. I decided to try both methods and found differing results. More on that later.
Here’s a quick animation from their website that visually shows how easy it is to use the kit:

The Cakes Under the Influence company encourages you to find new ways to use their product and to create new cocktail cupcake recipes to make with their cake mix. Since I received a package of cake mix with my review kit, I decided to come up with a cocktail recipe that I didn’t see available on their website.
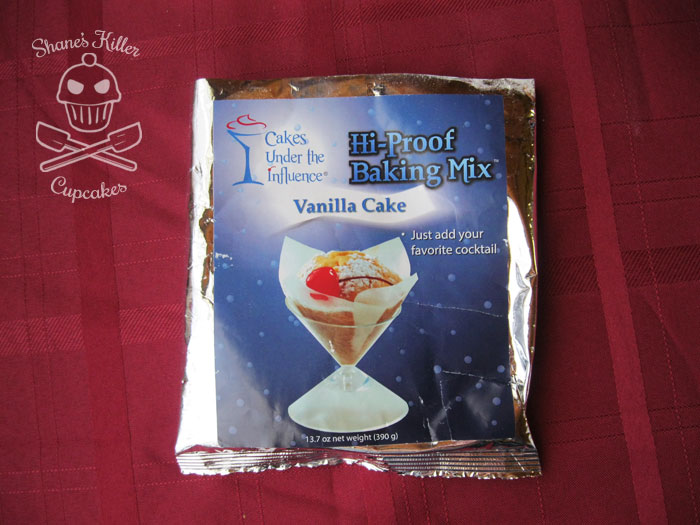
If you use their cake mix, all you have to do is add the ingredients of your favorite cocktail. It’s pretty darn easy. There are instructions on the back that you can follow, but I choose to modify the Manhattan Cocktail Cupcake Recipe from the CUI website to make Old Fashioned Cocktail cupcakes!
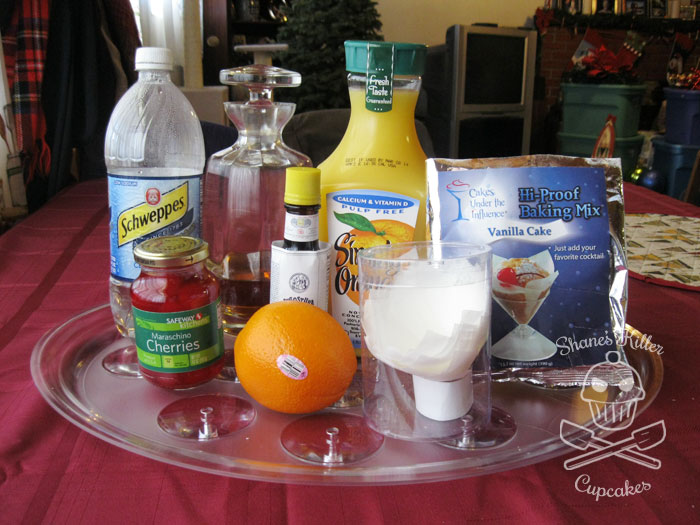
 Here’s what you’ll need for the cupcakes:
Old Fashioned Cocktail Cupcakes
Ingredients
For the cupcake batter:
- 1 Family size package (13.7 oz) of Vanilla Hi-proof Baking Mix
- 4 - 5 Tbsp. of club soda or water
- 1/2 c. bourbon whiskey
- 1/4 c. orange juice
- 1 Tbsp. cherry juice (either Rose's or the syrup from a maraschino cherry jar)
- 3 dashes of Angostura Aromatic Bitters
-
For the drizzle:
- 1/2 c. powdered sugar
- 1 Tbsp. bourbon whiskey (or more to taste)
- A splash of cherry juice
- A splash of fresh squeezed orange juice
- 1 dash Angostura Aromatic Bitters
-
For the garnish:
- 1 orange
- 1 10 oz. jar of maraschino cherries
- toothpicks
Instructions
For the cupcakes:
- Preheat oven to 325 degrees.
- Combine Vanilla Hi-Proof Baking Mix in a bowl with all the other ingredients.
- Mix for 3-4 minutes until light and fluffy.
- Line molds with paper liners or spray with non-stick cooking spray. I like to use the baking spray that has oil and flour in it.
- Pour or spoon the batter into the molds.
- Bake for 30-35 minutes or until a toothpick comes out clean.
- Remove from oven and let cool for a few minutes.
For the garnish:
- Cut the orange into wheels and then cut the wheels into quarters.
- Take a toothpick and add one cherry and one orange quarter to each.
- Place the garnish on top of the cupcake after you put the drizzle on it.
For the drizzle:
- In a small bowl, combine powdered sugar with all liquid ingredients. If it is too thick, thin with more of the juices or a splash of milk. (Don't use too much milk or the citrus juice may curdle it.)
- Use the rest of the orange you used for garnish for the juice.
- Drizzle on the top of each cupcake.
3.1
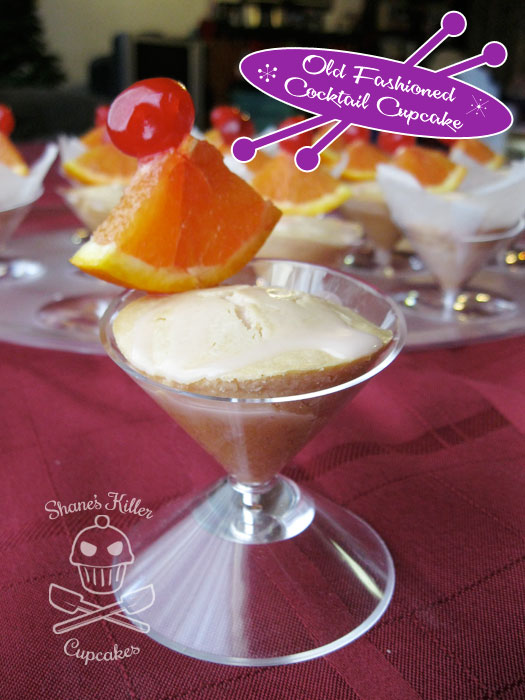
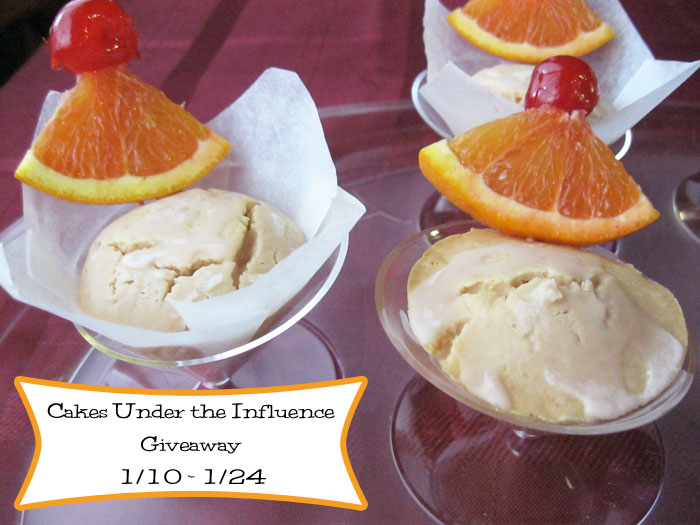
https://shaneskillercupcakes.com/2014/01/old-fashioned-cocktail-cupcakes-made-with-a-cakes-under-the-influence-kit-review/ When they’re done, they’ll look like this:
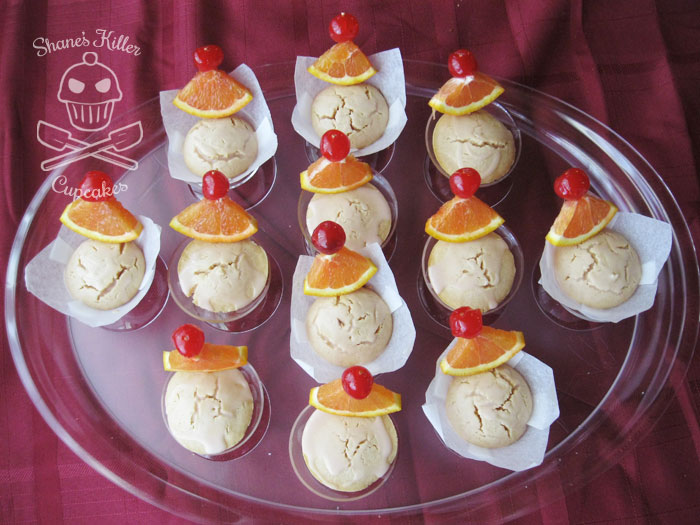 I tasted the batter before it was cooked, and it really did taste like an Old Fashioned. Once cooked, the strength of the flavor had subsided a little since some of the alcohol had cooked out, but I still picked up the taste of an Old Fashioned. The whiskey drizzle on the top really enhanced the cake’s taste too. The consistency of the cake was almost muffin-like and wasn’t too sweet which I liked.
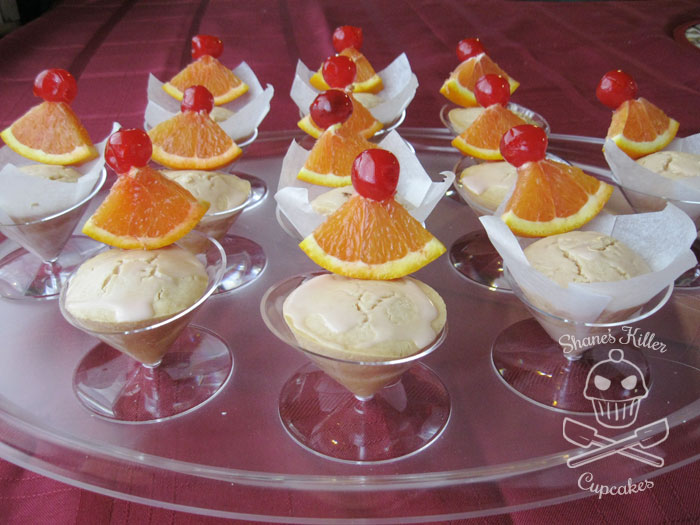 The acrylic stemware snapped into the included serving tray easily and looked pretty fancy once they were all on there. If you use the bases instead of the tray, I found that the tops didn’t snap into them, but rather fit tightly. A couple didn’t fit as tightly, and fell apart when I picked them up.
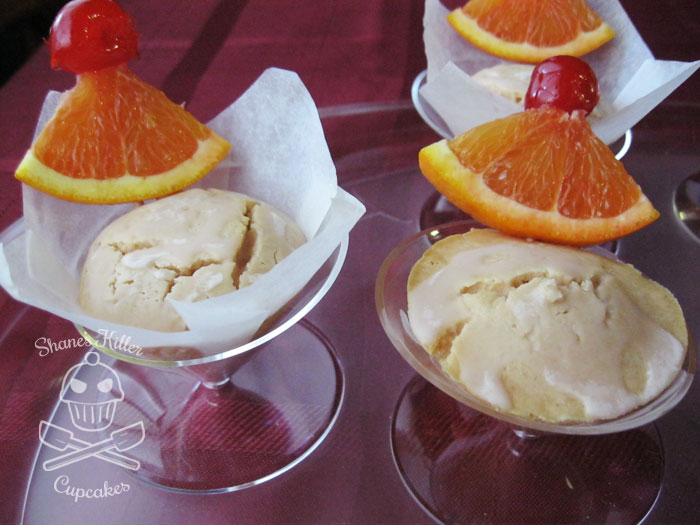
Since I made some of the cupcakes in the liners and some without, I noticed they cooked differently. The cake in the liners was more perfectly round on top, and the ones without were flatter. The cakes themselves tasted the same, but that might be something to keep in mind if you want a specific look for these cupcakes.
 Cakes Under the Influence has many different options so you can find the right product for your lifestyle. Don’t need a full Entertaining Kit? They have other kit options, including a 2-person package. Besides the mini martini molds and stemware, they also have margarita, champagne flutes, and shot glass shapes! If cupcakes aren’t your style, they offer large cake molds and cocktail cookie cutters as well.
These kits are great for adult parties or even a romantic night in. Like I mentioned before, I wish I had known about these when I had my cocktail party, because they would have been perfect! The best thing about this product is, except for the paper liners, it’s all reusable. Next time I throw a cocktail party, you better believe there’s going to be a set of Cake Under the Influence boozy cupcakes on the table.
Connect
Want to find out more about Cakes Under the Influence? Connect with them through any of the ways below:
Win!!
Click here to enter for a chance to win a Two Under the Influence Baking Kit from Cakes Under the Influence!

*** I received this baking kit in return for an honest review of the product. All opinions are true and my own.***
Pin It

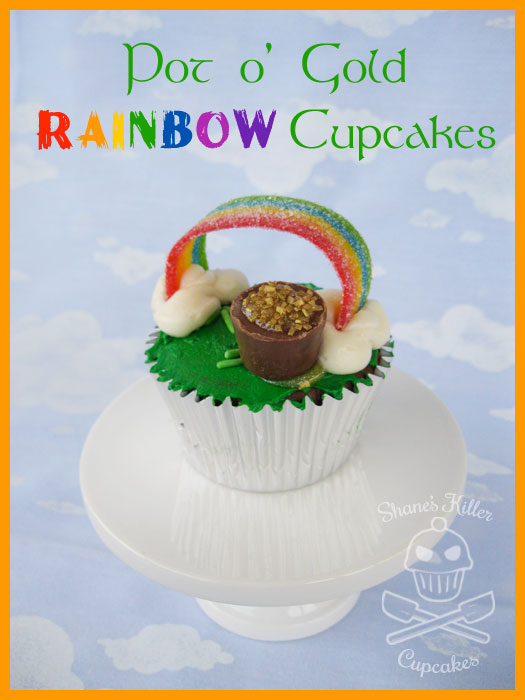 These cupcakes were a long time in the making. Last year I bought the makings for some rainbow cupcakes for a baby shower but never ended up making them. I didn’t want the candy to go to waste though, so I kept it in the back of my mind to find a good time to use them. Rainbow cupcakes would be good at any time, but I wanted it to be the right time, the right situation.
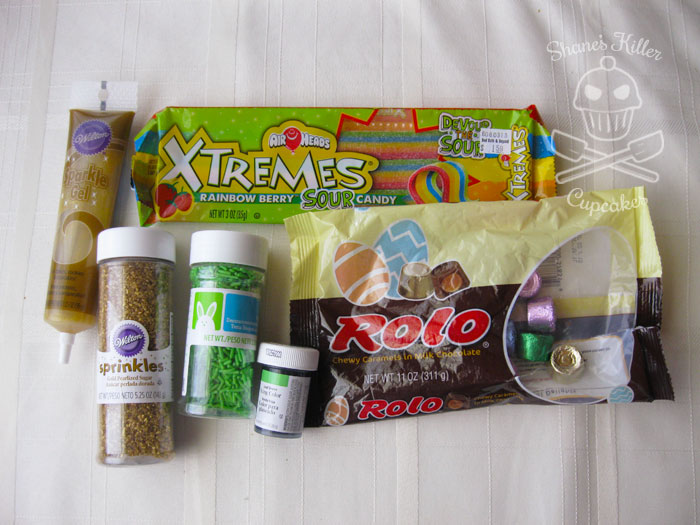
 While the cupcakes cooled, I made the pots o’ gold using the Rolos, the sparkle gel, and gold sugar sprinkles. Flip the Rolos upside down, add a glob of sparkle gel to the center, leaving the edges untouched, and sprinkle some gold sugar on top. Now you’ve got a treasury full of gold waiting to be placed at the end of the rainbow!
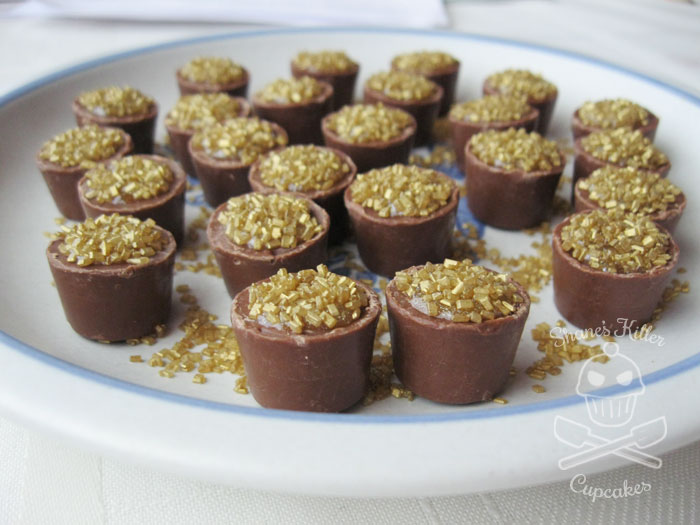
 Next cut the rainbow candy strips in half. This will give you 24 rainbows, just enough to cover 2 dozen cupcakes. If you end up with more cupcakes or need more than 24, you’ll need to buy a second package of the rainbow candy.
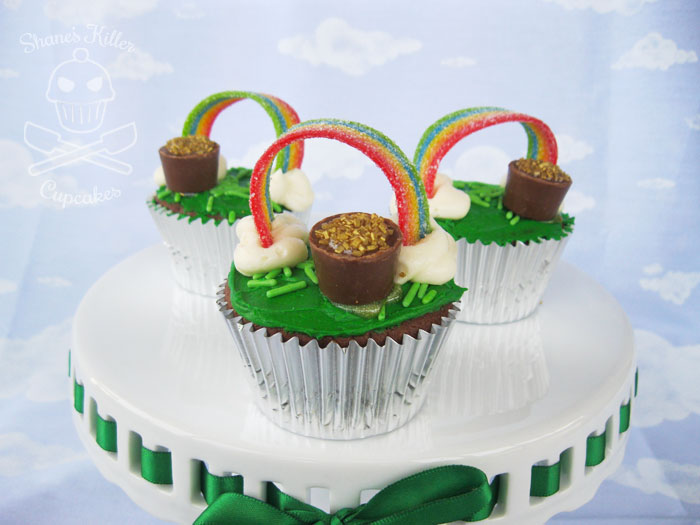
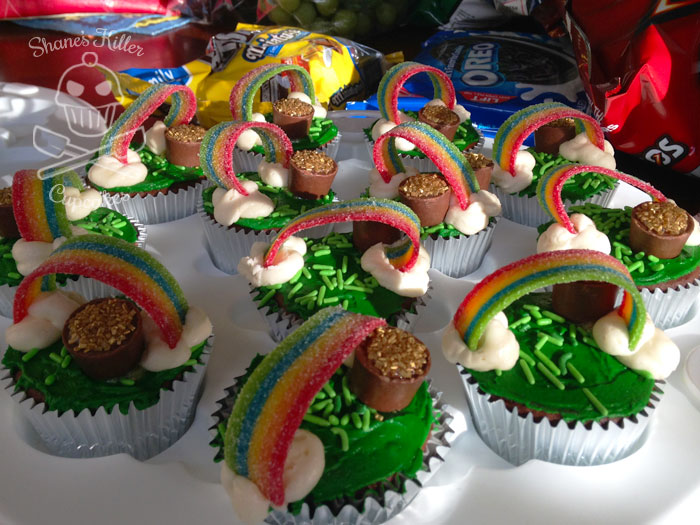 I hope these cupcakes bring you luck this St. Patrick’s Day!


