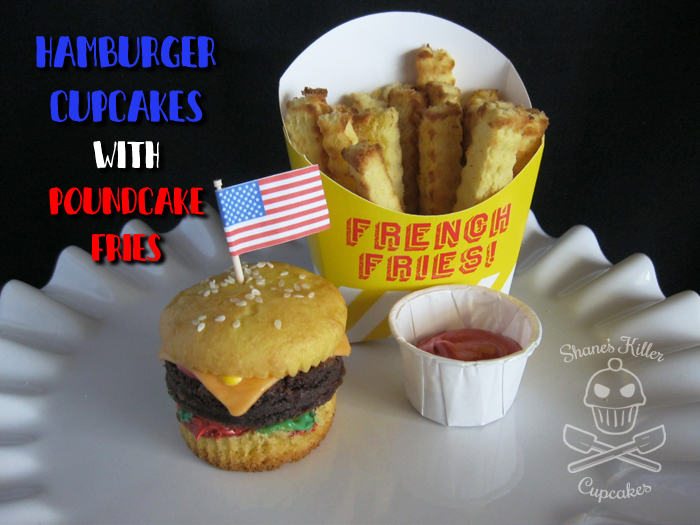
 Happy Independence Day everyone! Instead of a red, white, and blue dessert today, I decided to make burger cupcakes and cake fries because they are perfect for a summer BBQ.
I was inspired by several sources including Bakerella’s adorable Hamburger cupcakes and the pound cake french fries from the book What’s New Cupcake? by Karen Tack and Alan Richardson. I also used some of the book’s ideas from its submarine sandwich cupcakes. There are so many great ways to decorate hamburger cupcakes that the possibilities are almost endless.
To get started here’s what you’re going to need for the cupcakes:
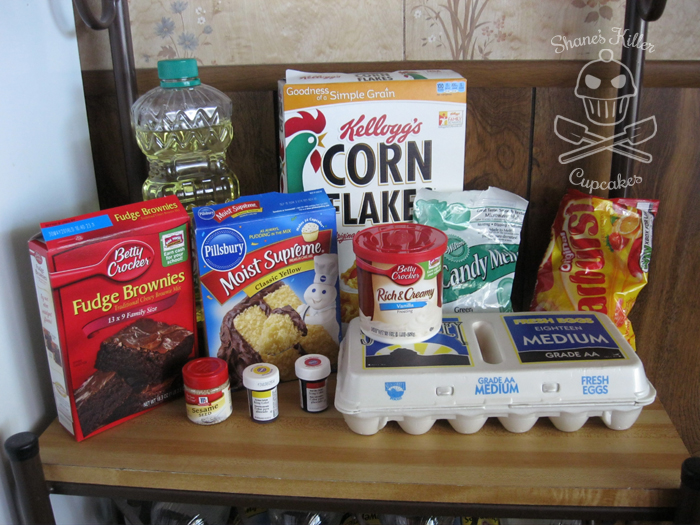
- Brownie mix or brownies from scratch (baked in a 13″ x 9″ pan)
- Yellow cake mix or cake from scratch
- Ingredients for mixes (oil, water, eggs, etc)*
- Corn Flakes
- Can of frosting or frosting from scratch
- Red and yellow icing dye (gel coloring works best)
- Sesame seeds
- Green candy melts (maybe some yellow candy melts if you don’t like the shade of green)
- Starbursts (we’ll need the orange ones)
*Note: I used Bakerella’s suggestion of substituting 1 cup buttermilk for the water in the cake mix. It made the cake very moist and almost sponge like. I’d recommend this substitution.
Bake the brownies first and let them cool. Once cool, use a 2″ circle cutter and cut out the patties.
While the brownies cool, make and bake the cupcakes in liners. If you cook them without liners the sides of the cupcakes will look too dark for the “buns.”
As the cupcakes are cooking as per the recipe or box mix’s instructions, start to make the ingredients for the burgers. Warm the orange Starbursts in the microwave for about 10-15 seconds and then, on a piece of wax paper, smash two together and roll it out.
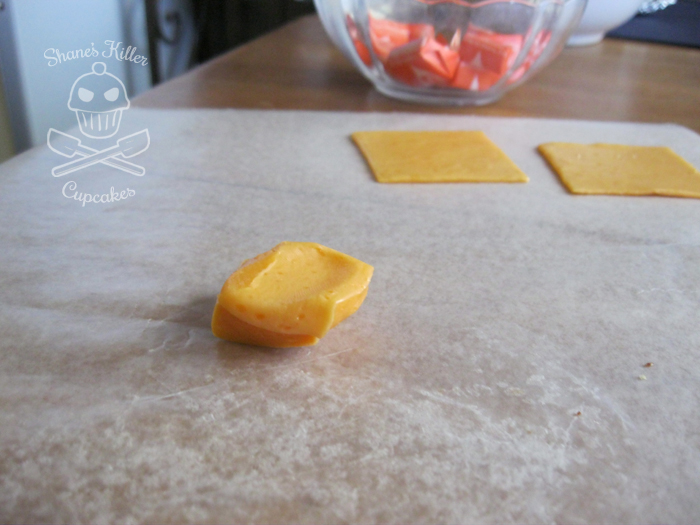
Then cut it into a square:
 Now you have your cheese slices!
For the lettuce, melt some green candy melts (adding some yellow candy melts if you want to soften the shade of green) and pour some corn flakes into the melted candy. If the candy isn’t thin enough, try thinning it with some oil. Stir the cereal around lightly, coating the them, and then pull out the individual pieces to set up. It’s good to put these on a piece of wax paper and then stick them in the fridge.
 Once the cupcakes are done baking and cooling, cut the top and the bottoms off and set aside. The middle part will not be used for these. Save them for another dessert (mix any left over frosting into them for cake pops!) or throw them away.
 Mix up your yellow (mustard) and red (ketchup) frostings and put them in piping bags or ziplock bags with the corner cut off.
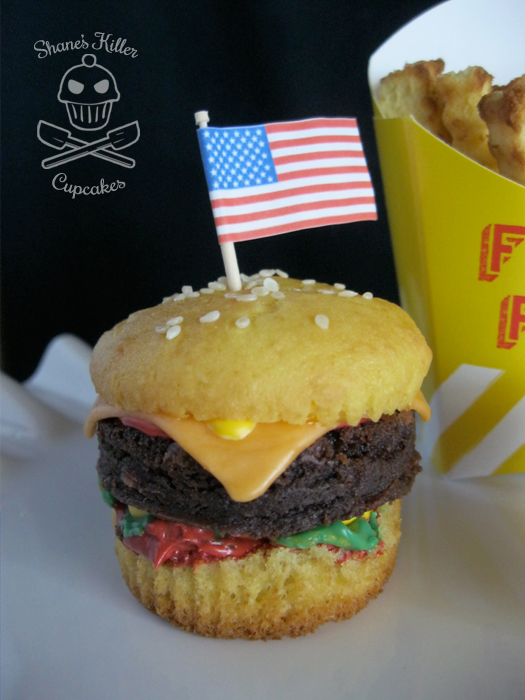
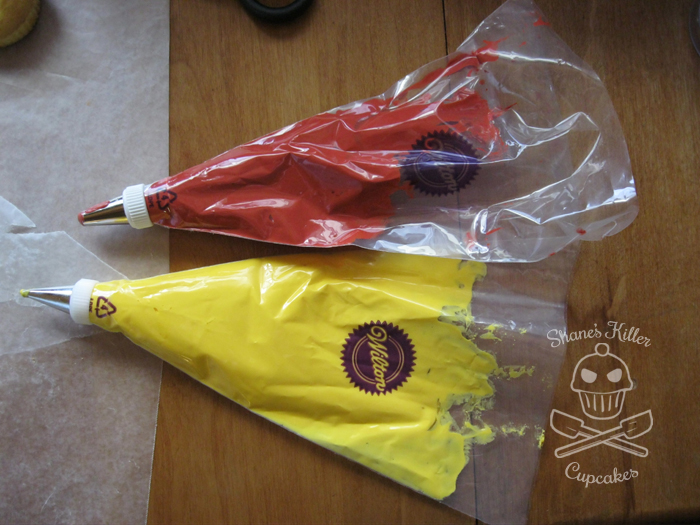 Layer the hamburgers however you want. I layered in this order (from bottom-up): bun bottom, frosting, lettuce, frosting, brownie patty, frosting, cheese, frosting, bun top.
On the top of the bun brush a little water on top and then sprinkle some sesame seeds.
For the poundcake fries, I used a frozen Sara Lee poundcake. Not sure if this would work as well with a homemade loaf but you could try. Pull the cake out of the freezer and let defrost for a little bit. It’s best if it’s still a little cold or frozen when you cut it because the ridges from the crinkle cutter will be more pronounced.
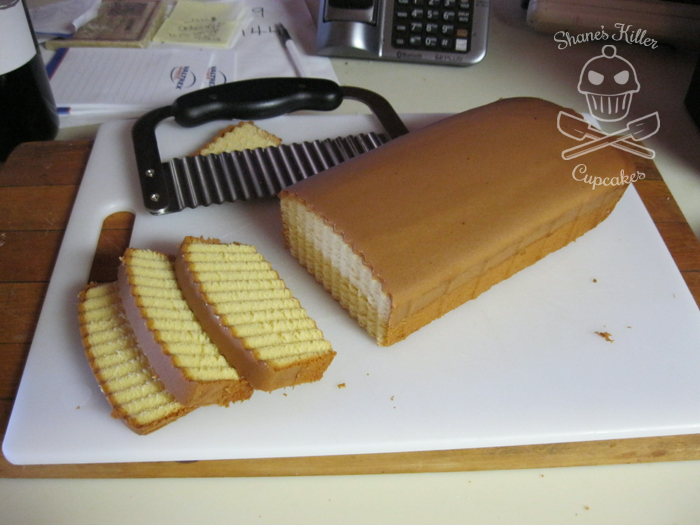

Using a crinkle cutter or knife (used to cut vegetables and potatoes), cut the cake into 1/2″ slices and cut off the brown edges. Then cut those slices into the fry sticks. Place them on a baking sheet and heat them in a preheated broiler on high for no longer than 30 seconds or until they are golden brown. Keep an eye on these as they will brown quickly and burn easily.
Put some left over frosting ketchup in a dish or condiment container and serve with the cake fries for dipping!

That’s it! These are fairly labor intensive but so easy to put together. Have a fun and safe 4th of July!

Pin It

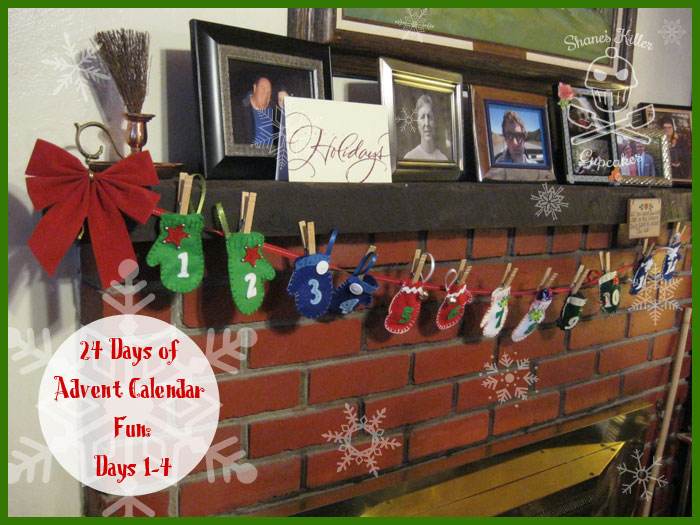 This month I will share with you the advent calendar that I put together for my grandma. I found this fantastic D.I.Y. mitten advent calendar tutorial over at Holiday Crafts and Creations. It took a while to make because I did it all by hand, and did some fancy decor on some of the mittens, but I think it was worth it. It’s turned out great!


